MacPrevent 5% Sodium Fluoride Varnish with TC...
SKU 90002-Bx
Learn how a Crile-Wood needle holder supports controlled suturing, what to compare before buying, and how to build a practical instrument selection checklist.
A Crile-Wood needle holder is a needle-driving instrument used to control a suture needle during wound closure. For dental professionals, choosing the right pattern is not just a matter of instrument name: jaw geometry, handle feel, needle size, access, and reprocessing workflow all affect control at the field. This guide explains the design and use of the Crile-Wood pattern, what to compare with other needle holders, and how to make a practical purchasing decision for a dental or oral-surgery setting.
A Crile-Wood needle holder is a hinged, ratcheted instrument designed to grasp and guide a curved suture needle through tissue. It gives the operator a controlled grip at the needle rather than requiring direct finger contact with the sharp. The instrument is held by its rings, closed around the needle, and used to advance or retrieve the needle along a planned path.
In common instrument terminology, the Crile-Wood pattern is associated with relatively fine jaws intended for controlled needle handling. The exact dimensions, jaw construction, and features can vary by manufacturer and model, so buyers should confirm the individual product description rather than assume every instrument bearing the pattern name is identical. SurgiMac's available Quala Crile-Wood needle holder listing identifies a six-inch instrument; consult its current product details and applicable instructions for use for the specifications that apply to that item.
A needle holder is not a hemostat or a general-purpose clamp. Its jaws and locking mechanism are intended for needle control. Using it to grasp tissue, clamp a vessel, or handle materials outside the manufacturer’s intended use can damage the instrument or compromise control. Select and use each instrument for its labeled purpose and the operator’s training and clinical judgment.
The instrument’s basic components work together: ring handles provide the grip, a box lock joins the shanks, jaws contact the needle, and a ratchet can hold the jaws closed. This arrangement lets the clinician maintain a controlled hold while repositioning the hand between needle passes. The pattern name is only a starting point; the feel and function of the particular model should be assessed before it is introduced into a routine.
The jaws must hold the needle securely without forcing the operator to crush it or squeeze excessively. A stable grip helps the clinician rotate and advance a curved needle through tissue while keeping the point and curve oriented as planned. The appropriate grip location depends on the needle and technique; follow the needle and instrument manufacturers’ directions and the clinician’s established method.
Before a procedure, confirm that the jaws meet evenly, the ratchet engages and releases as expected, and there is no visible damage, corrosion, or looseness. If the instrument slips, closes unevenly, or requires unusual force, remove it from service for evaluation under the practice’s instrument-management process. Do not compensate for a worn or damaged instrument by applying greater pressure.
Ring size, shank length, balance, and the operator’s hand position affect comfort and access. A longer instrument may provide reach in some situations but can feel different in a confined working area; a shorter option may be easier to position in another setting. Neither length nor pattern alone determines suitability. Consider the procedure, access, needle dimensions, and clinician preference together.
Ergonomics matters across a procedure, not only during one needle pass. A team can compare how easily each operator opens and closes the ratchet, maintains a stable grasp, and changes direction without losing the planned needle orientation. If evaluating instrument families such as SurgiMac’s Air Series, Slim Series, or Titanium Black Series, verify the features of each specific model and do not assume that a family name establishes compatibility or performance for every suturing task.
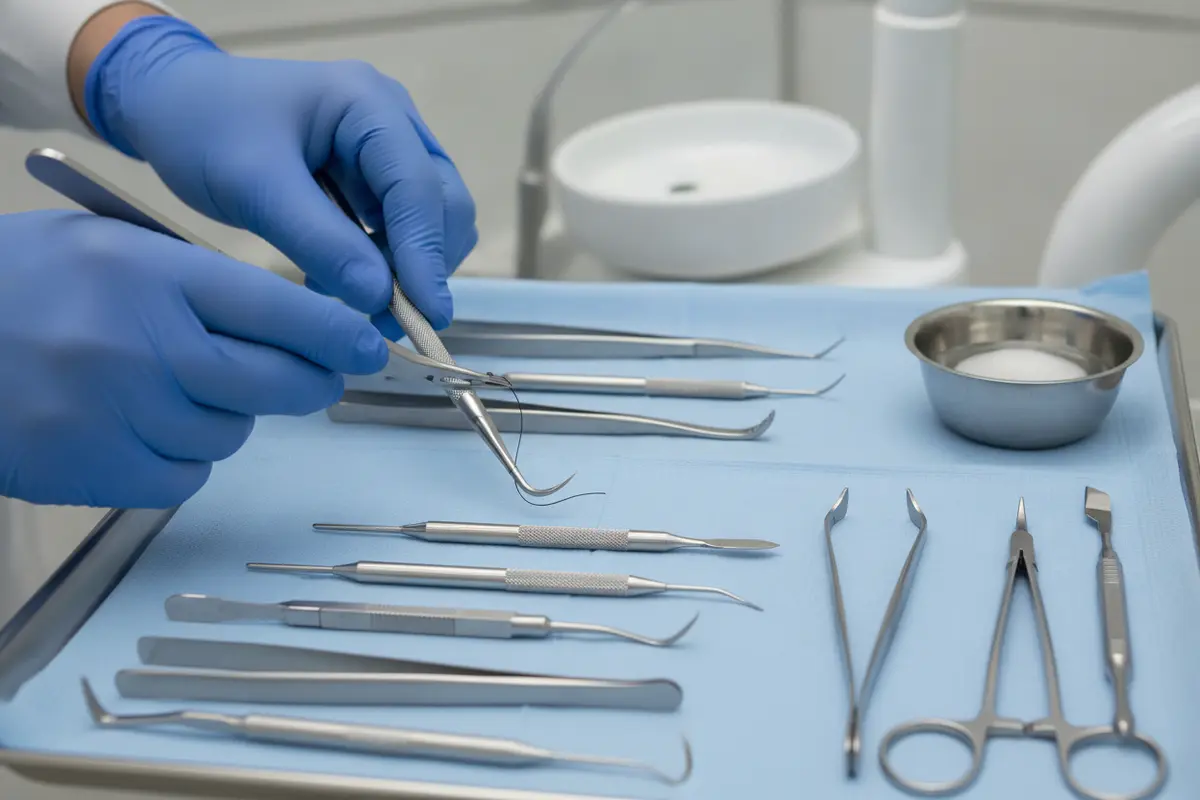
A Crile-Wood needle holder may be considered when the clinician wants a dedicated instrument for controlled suturing and its size and jaw configuration fit the needle, site, and technique. In dental practice, selection should be based on the planned procedure and the clinician’s competency, not on the assumption that one holder is appropriate for every oral-surgery or periodontal case.
Think through the working conditions before ordering. Is the access direct or restricted? What needle dimensions and curvature are specified for the selected suture? Does the intended technique call for a fine, precise grip or a different jaw form? Will the instrument be shared among operators with different hand sizes or preferences? These questions help determine whether a Crile-Wood pattern belongs in the practice’s tray inventory or whether another design is more appropriate.
For teams purchasing the pattern for the first time, compare a candidate against an instrument already used successfully for similar procedures, where available. Evaluate it in a controlled, nonclinical setting according to the manufacturer’s instructions and the practice’s policies. A name on the handle or listing is not a substitute for checking the product specifications, condition, and intended use.
Needle holders share a broad purpose but differ in jaw form, length, grip, and handling characteristics. The following comparison is a selection aid, not a clinical ranking. Names and specifications can vary by manufacturer. Confirm the details for the specific instrument and use the design that fits the procedure and clinician’s training.
| Instrument pattern | General comparison point | What to verify before selection |
|---|---|---|
| Crile-Wood | Often selected for controlled handling with a comparatively fine jaw profile. | Jaw fit with the needle, instrument length, ratchet function, and clinician handling preference. |
| Mayo-Hegar | A commonly encountered general needle-holder pattern with a different jaw and handle feel from the Crile-Wood pattern. | Whether its jaw dimensions and grip suit the needle and access required for the planned work. |
| Ryder | A distinct pattern clinicians may compare when evaluating a fine needle-grasping instrument. | Manufacturer specifications, needle compatibility, jaw condition, and the operator’s preferred control. |
| Other specialty or combination patterns | May have design features intended for a particular procedure or instrument function. | Intended use, instructions for use, applicable reprocessing directions, and suitability for the specific case. |
Do not choose solely by comparing pattern names. Two instruments with different names can feel similar to one operator, while models within a pattern can differ in length and construction. The deciding factors are a secure, appropriate needle grip; predictable jaw and ratchet action; adequate access; and compatibility with the practice’s care and reprocessing process.
Dental supply buyers can use a consistent checklist to evaluate product listings and avoid ordering by name alone. Record the exact model and manufacturer information so the instrument can be reordered and tracked accurately. When specifications are unclear, ask the supplier or manufacturer before purchase rather than infer a feature from a product photograph.
A practical comparison worksheet can make purchasing more consistent across a clinic or DSO. List each candidate model in one column and record confirmed length, jaw description, material, reprocessing instructions, packaging, and user feedback in the others. Mark unknown details as “confirm with supplier” rather than filling them in from assumptions. This is especially useful when a buyer is comparing a named pattern across brands or reordering an instrument after a long interval.
For an individual practice, purchasing may center on replacing a worn instrument or adding a pattern to a procedure tray. A multi-site group may also need a shared specification so teams can order the same evaluated model. In either setting, define the clinical need first, then record the approved product information. Avoid substituting an instrument based only on a similar name or photograph when the specifications have not been reviewed.
Inventory planning should reflect actual procedure needs and the practice’s instrument lifecycle. Identify which trays require a needle holder, how many are needed to support the established processing and scheduling workflow, and who approves a substitute if the selected model is unavailable. These are internal operational decisions; they do not establish a universal quantity for every office. Review usage and instrument condition periodically, and maintain a clear reorder point consistent with the practice’s purchasing process.
When multiple clinicians use the same instrument, document any meaningful preference or fit issue during evaluation. The goal is a clear, reproducible specification—not a broad assumption that one design suits every clinician and procedure. Keep supplier product records and manufacturer instructions accessible to the team responsible for procurement and instrument processing. If a product changes, confirm whether the new model retains the characteristics the team originally approved before replacing the existing item.
Instrument choice is one part of a repeatable workflow. Before the case, the clinical team should confirm that the planned needle and suture materials are available, that the instrument has been processed according to its instructions, and that the tray arrangement supports the operator’s sequence. The clinician remains responsible for selecting the technique and materials appropriate to the procedure and patient.
Infection-prevention procedures should be based on current, authoritative guidance and the device labeling. The Centers for Disease Control and Prevention provides infection-prevention resources for dental settings; practices should consult relevant current guidance, manufacturer instructions, and applicable requirements when maintaining their protocols. For related instrument-processing supplies, buyers can review items such as Quala CSR wrap and the Sporox test vial intro kit, while confirming each product’s intended use and directions before incorporating it into a process.
Reusable surgical instruments require care that matches the manufacturer’s instructions. Soil left on an instrument, improper handling, or a process outside the product’s directions can affect the device and the practice’s infection-prevention workflow. Staff responsible for processing should use the facility’s validated procedures, training, and applicable instructions rather than treating all hinged instruments as interchangeable.
After each use, handle the needle holder in a way that protects staff from sharps and supports prompt, appropriate cleaning. Keep hinged instruments open or positioned as directed during processing. Inspect the jaws, ratchet, box lock, and surfaces for retained soil, damage, corrosion, or other changes that could affect function. If the product’s instructions specify lubrication, cleaning tools, or other maintenance steps, follow those directions.
Before returning an instrument to service, confirm it has completed the required practice process and is functioning as intended. Instruments that do not close evenly, have damaged jaws, or show unreliable locking action should be set aside and evaluated. Maintain a clear process for reporting and replacing instruments so staff are not pressured to use a device with a known defect.
Where a practice uses sterilization packaging and monitoring supplies, select products for the specific process and follow their labeling. For example, the practice may evaluate its existing sterile surgical blade purchasing alongside other procedure supplies, but a product link alone does not establish that an item is appropriate for every case or processing step. Keep the instrument, packaging, and monitoring instructions distinct and verify each item’s role.
Compare the listed Crile-Wood instrument details
It is used to grasp and guide a suture needle during wound closure. The clinician should use it only as intended and select a model that fits the needle, access, technique, and manufacturer’s directions.
No. These are different instrument patterns and can have different jaw and handling characteristics. Product details vary by manufacturer, so compare the specifications and evaluate the instrument rather than assuming the names are interchangeable.
Start with the access and working distance required for the planned procedure, then compare the listed length and have intended users consider handling. Length alone does not establish suitability; jaw design, needle fit, and clinician preference also matter.
Do not assume so. Confirm the specific instrument’s intended use and specifications against the needle and technique. The clinician should make the final selection based on training, case requirements, and applicable manufacturer instructions.
Check that the instrument is processed according to its instructions and inspect the jaws, alignment, ratchet, box lock, and surfaces for damage or retained soil. Remove an instrument from service if its function is unreliable or its condition is questionable.
A deliberate selection process helps dental teams match the Crile-Wood needle holder to the intended procedure, verify its features, and maintain a consistent approach to instrument use and care.