


The Clinician's Guide to Stage 1 Cavity Cleaning
- , by SurgiMac
- 39 min reading time
Stage 1 cavity cleaning helps reverse early tooth decay. Learn about non-invasive treatments, prevention tips, and how to protect enamel from further damage.
Talking to patients about a "pre-cavity" can be tricky. You want to convey the seriousness of a stage 1 lesion but also frame it as a win—an opportunity for non-invasive care. This is where you pivot the conversation from treatment to prevention. It all starts by explaining how their enamel can be repaired, beginning with a professional stage 1 cavity cleaning in your office. This guide provides the clinical insights and communication strategies you need to help patients reverse early decay, covering everything from fluoride treatments to the at-home habits that ensure long-term success.
Browse SurgiMac Browse Catalog
Key Takeaways
- Early Detection Creates an Opportunity: A stage 1 cavity is an area of weakened enamel, not a hole. Identifying this "white spot lesion" early allows you to intervene with non-invasive treatments, preserving the natural tooth structure and avoiding the need for a filling.
- Fluoride Is Your Strongest Ally: The key to reversing early decay is remineralization, a process that rebuilds the enamel. Fluoride is the most effective agent for this, as it integrates into the tooth's structure to create a stronger, more acid-resistant surface.
- Success Depends on a Team Approach: Professional treatments like fluoride varnish are essential, but consistent at-home care is what makes reversal possible. Educating patients on proper hygiene, diet, and the use of fluoride products empowers them to halt decay between appointments.
 What Is a Stage 1 Cavity?
A stage 1 cavity is the earliest, non-cavitated form of tooth decay, representing a critical opportunity for non-invasive intervention. At this initial phase, the decay process has begun, but the damage is limited to the enamel and has not yet created a physical hole, or cavitation, in the tooth. This stage is defined by demineralization, where acids produced by plaque bacteria start to dissolve the mineral content of the enamel. Think of it as a warning sign from the tooth, indicating that the balance has tipped in favor of mineral loss.
Because the underlying tooth structure is still intact, stage 1 cavities are often reversible with the right professional treatments and at-home care. Recognizing and managing these incipient lesions is a cornerstone of modern preventative dentistry. It allows clinicians to halt decay before it progresses to a point where restorative work, like a filling, is required. Early detection is everything, making this stage a key focus during routine dental examinations. By identifying these lesions early, you can guide patients toward preventative strategies that remineralize the enamel and restore its strength, avoiding the need for more invasive procedures down the line. This proactive approach not only preserves natural tooth structure but also empowers patients to take control of their oral health.
What Does Early Enamel Demineralization Look Like?
A stage 1 cavity, also known as an incipient lesion or white spot lesion, represents the very first clinical sign of tooth decay. At this point, the damage is confined to the enamel and has not yet breached the dentin. These lesions are characterized by minimal demineralization, often appearing as chalky, white, or slightly discolored spots on the tooth surface. This is the critical window where the caries process is still reversible. Identifying these subtle changes requires a keen eye and precise diagnostic instruments. High-quality explorers, like those in our Air Series collection, provide the tactile sensitivity needed to detect slight changes in enamel texture that signal the start of demineralization, allowing for timely and non-invasive intervention.
Beyond White Spot Lesions
While the term "white spot lesion" is the textbook definition, early demineralization isn't always white. In some cases, especially within the pits and fissures of posterior teeth, it can manifest as a light brown or yellowish discoloration. This occurs when the porous, demineralized enamel absorbs external stains from foods and beverages. The diagnostic challenge, then, is to differentiate between simple staining and an active carious lesion that requires intervention. This is where superior visibility and tactile feedback become indispensable. Instruments from our Titanium Black Series, for example, are coated to reduce glare, helping you clearly see subtle changes in tooth color and texture. A precise explorer can then confirm whether the area is soft or sticky, indicating that the decay process is active beneath the stain.
What Causes a Stage 1 Cavity to Form?
The formation of a stage 1 cavity is a dynamic process rooted in the oral microbiome. It begins when cariogenic bacteria in dental plaque metabolize fermentable carbohydrates, such as sugars and starches, from a patient's diet. This metabolic process produces acids that lower the pH at the tooth surface. When the pH drops below a critical level (around 5.5 for enamel), a process called demineralization begins, where calcium and phosphate minerals are leached from the enamel's crystalline structure. This is how cavities start, as acid weakens the enamel and creates those initial porous areas. The battle between demineralization and natural remineralization dictates whether a lesion progresses or heals.
The Tug-of-War in Your Mouth
Every day, a constant battle unfolds within the oral cavity. On one side, acids produced by bacteria work to demineralize tooth enamel, stripping away its protective minerals. On the other, saliva and fluoride work to repair it through remineralization. A stage 1 cavity forms when this delicate balance is disrupted and the rate of demineralization surpasses remineralization. This isn't a sudden event but a gradual process. Frequent exposure to dietary sugars and starches provides fuel for cariogenic bacteria, leading to prolonged acid attacks that overwhelm the mouth's natural defense mechanisms. The result is a net loss of minerals, weakening the enamel and creating the porous, chalky surface of a white spot lesion—the first visible sign that the tooth is losing the fight.
Key Risk Factors Beyond Diet
While diet is a primary driver of decay, several other factors significantly increase a patient's risk. Inadequate oral hygiene is a major contributor, as it allows plaque to accumulate and harden into calculus, creating a protected environment for acid-producing bacteria. Effective removal of this buildup is critical, requiring precise and durable instruments. For example, the ergonomic scalers and curettes in our Slim Series are designed for efficient deposit removal, even in tight interproximal spaces. Other significant risk factors include xerostomia (dry mouth), which reduces saliva's ability to buffer acids, as well as genetic predispositions to weaker enamel. Age-related changes, such as gum recession that exposes softer root surfaces, also heighten susceptibility to caries.
Common Signs of an Early Cavity
Unlike more advanced decay, a stage 1 cavity is typically asymptomatic. Patients rarely report pain or sensitivity, which is why these lesions are often discovered during routine clinical examinations. The most common sign is the visible white spot lesion on a clean, dry tooth surface. Early detection relies heavily on a thorough visual and tactile assessment, often supplemented with diagnostic tools like radiographs, especially for interproximal areas. While bitewing X-rays can help identify early enamel caries, a sharp explorer remains essential for assessing surface integrity. Using precise dental instruments allows you to feel for the subtle surface roughness that distinguishes an incipient lesion from healthy enamel, ensuring you can recommend preventative care before a filling becomes necessary.
What Happens if a Stage 1 Cavity Progresses?
When a stage 1 cavity is left unmanaged, the delicate balance between demineralization and remineralization tips permanently. The initial white spot lesion, once a reversible warning sign, will advance into deeper layers of the tooth, leading to irreversible structural damage. This progression follows a predictable path, moving from a simple restorative case to complex endodontic or surgical intervention. Understanding this trajectory is crucial for patient education, as it highlights the importance of addressing decay at its earliest stage. It underscores why your preventative recommendations are so critical—they are the last line of defense before the need for more invasive and costly procedures becomes a reality.
From Demineralization to Dental Fillings
If frequent acid attacks from diet and bacteria continue, the enamel can't keep up with mineral loss. The porous white spot lesion weakens until the surface collapses, creating a permanent cavitation that requires a restorative fix. At this point, the decay has breached the enamel and entered the softer dentin layer, where it can spread more rapidly. This is the classic point where a dental filling becomes necessary to remove the decayed tissue and restore the tooth's form and function. The procedure involves preparing the cavity and placing restorative materials, which are bonded into place using high-quality dental cements and adhesives to ensure a durable, long-lasting seal against further bacterial invasion.
The Need for Root Canal Therapy
Should the decay continue to advance through the dentin, it will eventually reach the pulp—the innermost part of the tooth containing nerves and blood vessels. This often results in significant pain, sensitivity, and inflammation as the pulp tissue becomes infected. To save the tooth, root canal therapy is required. This procedure involves removing the infected or necrotic pulp, disinfecting the internal canals, and sealing them to prevent reinfection. It’s a necessary step to eliminate infection and relieve pain, but it also means the tooth is no longer vital. For more severe cases, a root canal is the last resort before considering extraction.
When Tooth Extraction Becomes Necessary
In the most advanced cases, the structural damage from decay is so extensive that the tooth cannot be saved. If the decay has destroyed a significant portion of the crown and root, making it impossible to restore with a filling or crown, extraction becomes the only option. This is a final measure taken to remove the source of infection and prevent it from spreading to the jawbone or adjacent teeth. Performing a clean, efficient extraction requires reliable instruments. Our Hexa Series elevators and forceps are engineered with ergonomic grips and durable stainless steel to provide the control and strength needed for these demanding surgical procedures, ensuring a smooth process for both you and your patient.
Can You Really Reverse a Stage 1 Cavity?
Yes, it is possible to reverse a stage 1 cavity, but only when it's caught in its earliest phase. This initial stage, known as an incipient lesion or enamel demineralization, is essentially a "pre-cavity." At this point, the decay has weakened the enamel but hasn't yet created an actual hole, or cavitation, in the tooth's surface. The key to turning back the clock on this early decay lies in a natural process called remineralization.
This reversal isn't magic; it's a targeted biological repair process. By intervening with the right professional treatments and consistent at-home care, you can help patients restore the lost minerals to their enamel, effectively stopping the cavity in its tracks and preventing the need for a filling. This conservative approach preserves the natural tooth structure and empowers patients to take control of their oral health. Success depends on a collaborative effort between your clinical guidance and your patient's daily habits, supported by high-quality dental supplies and a solid treatment plan.
How Tooth Remineralization Reverses Damage
Remineralization is the natural process of restoring minerals to tooth enamel after they have been lost to acid attacks from plaque bacteria and dietary sugars. Your saliva plays a major role by neutralizing acids and depositing calcium and phosphate back onto the tooth surface. However, when demineralization outpaces remineralization, a stage 1 cavity begins to form.
Fluoride is the most effective agent for tipping the scales back in favor of remineralization. When fluoride is present, it incorporates into the enamel crystal structure, forming fluorapatite. This new mineral is significantly more resistant to acid than the original hydroxyapatite. This process not only rebuilds weakened enamel but also makes the tooth stronger and better equipped to fend off future acid attacks, effectively halting the progression of an incipient lesion.
How Fluoride Fights Decay
Fluoride is the powerhouse behind effective remineralization. When introduced to the tooth surface, fluoride ions are absorbed into the demineralized enamel, where they attract calcium and phosphate ions from saliva to accelerate the rebuilding process. More importantly, fluoride doesn’t just replace lost minerals; it upgrades the enamel's structure. It integrates into the tooth's structure to create fluorapatite, a new mineral compound that is fundamentally stronger and more resistant to future acid attacks than the original hydroxyapatite. Professional applications are key to delivering the necessary concentration, and our line of preventive products ensures you have reliable options for in-office treatments. This fortified enamel acts as a shield, effectively stopping an incipient lesion from progressing and providing a more durable defense against the ongoing challenges of the oral environment.
Why Acting Fast Matters for Early Cavities
Acting promptly when you identify a stage 1 cavity is critical. Once the decay progresses beyond the initial demineralization and breaks through the enamel surface to form a cavitation, the damage is irreversible without restorative treatment. At that point, remineralization is no longer an option, and a filling becomes necessary to repair the tooth structure and prevent further decay.
Early intervention avoids more invasive and costly procedures down the line. Regular dental exams, aided by sharp diagnostic dental instruments and radiographs, are essential for spotting these incipient lesions before they advance. By addressing the issue at its earliest stage, you can guide the patient toward conservative treatments that preserve their natural dentition, improve their oral health literacy, and build trust in your preventive approach to care.
Professional vs. At-Home Care: What's Right for You?
Reversing a stage 1 cavity requires a two-pronged approach combining in-office procedures with diligent patient care at home. Professional treatments deliver a concentrated dose of therapeutic agents to jumpstart the repair process. A professionally applied fluoride treatment, often in the form of a varnish, gel, or foam, can effectively restore minerals to the weakened enamel. In some cases, applying dental sealants can also protect vulnerable surfaces from further acid exposure.
At home, consistency is everything. The patient’s daily routine is what sustains the remineralization process between appointments. The number one tool for this is a fluoride toothpaste used at least twice daily. You can also recommend fluoride mouth rinses, dietary modifications to reduce sugar and acid intake, and proper brushing and flossing techniques. This combined strategy gives patients the best chance of successfully reversing early decay.
Debunking Common Myths About Reversing Cavities
In an age of wellness influencers and DIY health trends, your patients are likely encountering a lot of misinformation online about treating cavities. It's essential to be prepared to address these myths with clear, evidence-based facts. Guiding patients away from ineffective or even harmful "remedies" and toward proven clinical solutions reinforces your role as their trusted health advisor. By debunking these common misconceptions, you can steer the conversation back to the importance of professional diagnosis, preventative care, and the collaborative effort required to maintain long-term oral health.
The most prevalent myths often oversimplify the complex biology of tooth decay, promising quick fixes that sound too good to be true—because they are. Addressing these head-on not only corrects your patient's understanding but also strengthens their trust in your professional guidance. Let's break down two of the most common myths you're likely to encounter in your practice, providing you with the talking points to educate patients effectively and keep their focus on treatments that actually work.
You Cannot Heal a Hole at Home
One of the most dangerous myths is the idea that a fully formed cavity can be healed at home with special diets or pastes. It's crucial to explain to patients that once decay has created a physical hole—a cavitation—in the tooth, the damage is irreversible without professional intervention. As Colgate explains, you simply cannot heal a cavity at home once it has breached the enamel surface. At this point, the structural integrity is compromised, and only a restorative procedure like a filling can repair the tooth and prevent the decay from reaching the pulp. This distinction is key: while you can reverse a stage 1 "pre-cavity," you cannot reverse an actual hole.
This is where your professional diagnosis is non-negotiable. You have the expertise and tools to differentiate between a reversible white spot lesion and an irreversible cavitation that requires treatment. Communicating this difference helps patients understand the urgency of their situation and the limits of at-home care. It frames your recommendation for a filling not as an upsell, but as a necessary medical procedure to save the tooth, stop the infection, and prevent more complex issues like pain, abscess, or tooth loss down the road.
The Limits of Oil Pulling
Oil pulling, the practice of swishing coconut or sesame oil in the mouth, has gained popularity as a natural oral health remedy. While some studies suggest it may help reduce plaque and gingivitis, it is not a solution for tooth decay. It's important to validate your patient's interest in proactive health measures while clearly outlining the limitations of this trend. Explain that while oil pulling might reduce some bacteria, it does absolutely nothing to fix cavities or remineralize enamel.
The process of reversing a stage 1 cavity relies on depositing minerals like calcium and phosphate back into the enamel, a process significantly enhanced by fluoride. Oil does not contain fluoride and cannot create the acid-resistant fluorapatite that is essential for strengthening weakened tooth structure. When a patient brings up oil pulling, use it as a teachable moment. Acknowledge its minor benefits for gum health, but pivot the conversation back to evidence-based methods like fluoride toothpaste, proper hygiene, and professional treatments—the only proven ways to halt and reverse early decay. This ensures they don't substitute a proven method for an ineffective trend.
Professional Stage 1 Cavity Cleaning and Treatments
When a stage 1 cavity is identified, professional intervention is the most reliable way to halt its progression and encourage enamel remineralization. These early-stage treatments are minimally invasive and focus on strengthening the tooth’s natural defenses. By acting quickly, you can often reverse the demineralization process entirely, preventing the need for a restorative filling down the line. The goal is to restore the mineral balance in the enamel and create a protective shield against further acid attacks.
Your approach will depend on the patient's specific risk factors and the location of the lesion. Common professional treatments include targeted fluoride applications, thorough cleanings to remove plaque biofilm, and the placement of protective sealants. Each of these methods addresses the core cause of early decay, giving the tooth the support it needs to repair itself. For every procedure, maintaining a sterile environment is key, which is why reliable infection control supplies are a cornerstone of effective patient care.
Strengthening Enamel with Fluoride Varnish
A fluoride varnish application is a highly effective, in-office treatment for reversing incipient lesions. This concentrated topical treatment is painted directly onto the tooth surface, where it adheres for several hours. This prolonged contact time allows for a high uptake of fluoride ions into the enamel, which significantly enhances the remineralization process. The varnish not only helps rebuild weakened enamel but also inhibits the metabolic activity of cariogenic bacteria. The procedure is quick, painless, and provides a powerful defense against further demineralization, making it a go-to strategy for managing early caries.
When Is Prescription-Strength Fluoride Necessary?
For patients with a higher risk of developing cavities, at-home, prescription-strength fluoride can be an excellent supplement to in-office treatments. Unlike over-the-counter products, these formulations contain a higher concentration of fluoride and are available as gels, rinses, or toothpastes. Prescribing a high-fluoride product allows patients to continue the remineralization process between dental visits. This approach provides continuous, low-level fluoride exposure that helps keep the enamel strong and resilient against acid attacks. It’s a proactive way to manage caries risk and empower patients to take an active role in their oral health.
The Importance of a Professional Cleaning
A thorough professional cleaning is fundamental to managing stage 1 cavities. By meticulously removing plaque and calculus from the tooth surfaces, you eliminate the bacterial biofilm responsible for producing acids. This step is critical because it disrupts the environment where demineralization occurs and allows the enamel to begin the natural repair process. Using precise and ergonomic instruments, like those in our Air Series collection, ensures you can effectively access and clean every surface without causing patient discomfort. Paired with high-quality MacSafe disposable gloves, you can maintain optimal safety and hygiene while restoring a healthy oral environment.
Protecting Teeth with Dental Sealants
Dental sealants offer a proactive and highly effective method for preventing decay on the occlusal surfaces of posterior teeth. These areas have natural pits and fissures that are difficult to clean and are prime locations for cavities to form. A sealant is a thin, protective coating that is applied to the chewing surface, creating a smooth barrier that shields the enamel from plaque and acids. This non-invasive treatment is ideal for children and adults who are at risk for caries. By sealing off these vulnerable grooves, you can effectively prevent the initiation of decay before it even has a chance to start.
Ideal Timing for Sealant Application
The best time to apply dental sealants is as soon as the permanent molars fully erupt, before they have a chance to decay. For most children, this means applying sealants to the first molars around age six and the second molars around age twelve. This proactive step is one of the most effective preventative measures in pediatric dentistry. Applying sealants to a newly erupted tooth seals off the deep pits and fissures that are highly susceptible to caries. The procedure is simple: the tooth must be completely clean and isolated to ensure a strong bond. This makes the timing crucial, as you want to intervene when the tooth is healthy and free of any plaque or early demineralization.
Managing Early Cavities in Pediatric Patients
Managing stage 1 cavities in children requires a unique blend of clinical skill and patient education, primarily directed at the parents. Pediatric patients present distinct challenges, from their developing dentition and dietary habits to their ability to cooperate in the chair. However, identifying an incipient lesion in a child is a critical opportunity to establish a lifetime of positive oral health habits. The goal is the same as with adults—remineralize the enamel and avoid restorative work—but the approach must be tailored to the child's needs. This involves making the experience as positive as possible while clearly communicating the importance of at-home care to caregivers.
Professional intervention is the first and most important step. A thorough cleaning and application of fluoride varnish can halt the decay process. For pediatric patients, using instruments designed for smaller mouths can make the experience more comfortable and efficient. The compact, ergonomic tools in SurgiMac’s Slim Series are built for precision and can help you work effectively in tight spaces. Ultimately, your role extends beyond treatment; it's about empowering parents with the knowledge and tools they need to manage their child's oral health, turning a potential cavity into a valuable lesson in prevention.
Proper Fluoride Toothpaste Use for Children
One of the most critical pieces of advice you can give parents is how to use fluoride toothpaste correctly. Fluoride is essential for remineralizing weakened enamel, but the amount must be appropriate for the child's age to be safe and effective. According to the American Dental Association (ADA), children under the age of three should use only a tiny smear of fluoride toothpaste—about the size of a grain of rice. For children aged three to six, a pea-sized amount is sufficient. This small quantity provides enough fluoride to protect their teeth while minimizing the risk if some is accidentally swallowed.
The Importance of Assisting Young Children with Brushing
Parents often overestimate their child's ability to brush their own teeth effectively. Young children lack the fine motor skills and coordination required to remove plaque from all tooth surfaces. It's essential to educate parents that they need to supervise and assist with brushing until their child is around seven or eight years old. A good rule of thumb is that if they can't tie their own shoes, they likely can't brush their teeth properly. The parent should perform the brushing or do a thorough "touch-up" after the child has had a turn. This ensures that the bacterial biofilm is adequately disrupted twice a day, supporting the remineralization process and preventing new lesions from forming.
Preventing Fluorosis by Spitting Out Toothpaste
While fluoride is a powerful ally against decay, it's important to address parental concerns about fluorosis. This condition, which causes faint white lines or streaks on the teeth, occurs when children consume too much fluoride during the years of enamel formation. It is almost always a cosmetic issue and is entirely preventable with proper technique. The key is to teach children to spit out their toothpaste after brushing instead of swallowing it. Combining this with using the correct rice-sized or pea-sized amount of toothpaste ensures they receive the topical benefits of fluoride without ingesting it. Supervised brushing is the best way to enforce this habit until the child is old enough to do it reliably on their own.
Your At-Home Plan to Stop a Stage 1 Cavity
While professional treatments provide the initial push needed to halt demineralization, consistent at-home care is what truly drives the reversal of stage 1 cavities. Empowering your patients with a clear, actionable oral hygiene plan is the most critical step in managing incipient lesions. The goal is to shift the oral environment from one that favors demineralization to one that actively promotes remineralization. This involves a multi-faceted approach that combines mechanical plaque removal, topical fluoride application, bacterial load reduction, and dietary modifications.
As a dental professional, your guidance is essential. Patients often need more than just a recommendation to "brush and floss more." They need specific instructions on techniques, product selection, and the science behind why these habits work. By explaining how these strategies strengthen enamel and disrupt the caries process, you can increase patient compliance and achieve better clinical outcomes. The following at-home care strategies are foundational for helping your patients reverse early tooth decay and maintain long-term oral health.
Choosing and Using the Right Fluoride Toothpaste
Fluoride is the cornerstone of non-invasive caries management. It works by integrating into the enamel's crystal structure, creating fluorapatite, which is more resistant to acid attacks than the natural hydroxyapatite. When advising patients, recommend they use a toothpaste containing fluoride that has the American Dental Association (ADA) Seal of Acceptance. This ensures the product has been tested for safety and efficacy. Instruct them to use a pea-sized amount and brush thoroughly for two minutes, twice daily. It’s also beneficial to advise them to spit out the excess toothpaste without rinsing immediately, allowing the fluoride to remain on the teeth longer. For patients at higher risk, you may consider prescribing a toothpaste with a higher fluoride concentration to maximize the remineralization effect.
Should You Use an Antimicrobial Mouth Rinse?
An effective oral hygiene routine goes beyond mechanical cleaning. Antimicrobial mouth rinses can significantly reduce the overall bacterial load in the mouth, particularly the cariogenic bacteria responsible for producing acid. While not a substitute for brushing and flossing, a therapeutic rinse can be a powerful adjunct for patients struggling with plaque control or those with a high caries risk. You can recommend over-the-counter options or prescribe rinses containing chlorhexidine for short-term, targeted treatment. Explain to patients that reducing harmful bacteria helps tip the scales in favor of remineralization, creating a healthier oral environment where enamel can repair itself. This is a key part of a comprehensive infection control strategy that extends from the clinic to the patient's home.
Mastering Your Brushing and Flossing Technique
Effective plaque removal depends entirely on proper technique. Many patients go through the motions of brushing and flossing without effectively cleaning their teeth. Take the time to demonstrate the correct methods in your office. Advise patients to use a soft-bristled toothbrush at a 45-degree angle to the gumline, using gentle, circular strokes to clean every surface. For interproximal cleaning, show them how to curve the floss in a "C" shape against each tooth and move it gently below the gumline. Reinforcing these fundamental skills is crucial, as it ensures the daily removal of the biofilm that harbors acid-producing bacteria. Just as you rely on precise dental instruments for clinical work, your patients need the right techniques to make their home care effective.
How Xylitol Can Help Fight Cavities
For patients who need an extra layer of protection, especially throughout the day, xylitol products can be a great recommendation. Xylitol is a sugar alcohol that cavity-causing bacteria like Streptococcus mutans cannot metabolize, which inhibits their growth and acid production. Furthermore, chewing xylitol-sweetened gum or using xylitol mints stimulates salivary flow. This is incredibly beneficial, as saliva is the body’s natural defense mechanism for neutralizing acids and delivering essential minerals like calcium and phosphate back to the tooth surface. Advise patients to use xylitol products after meals or snacks, aiming for a total of five to ten grams per day for optimal results. This simple habit can help maintain a neutral oral pH and support continuous remineralization.
Can Your Diet Stop a Stage 1 Cavity?
As a dental professional, you know that what happens in the operatory is only half the battle. Patient education on diet is a cornerstone of preventive care, especially for halting incipient lesions. Guiding patients to understand the connection between their eating habits and oral health can empower them to stop demineralization in its tracks. Here’s a breakdown of key dietary strategies you can share to help patients reverse Stage 1 cavities.
The Role of Key Nutrients in Remineralization
While fluoride is a powerful catalyst for remineralization, the body can't rebuild enamel from nothing. It needs a steady supply of the right raw materials, and this is where diet plays a fundamental role. The minerals lost during acid attacks must be replenished, and the primary source for these building blocks is the food patients eat. Educating patients on nutrient-dense foods is just as important as teaching them proper brushing techniques. By providing their bodies with the necessary components, they create an internal environment that supports the natural repair process, making professional treatments and at-home fluoride use even more effective in reversing early decay.
Calcium and Vitamin D for Stronger Enamel
Calcium and vitamin D are the power duo for enamel health. Calcium is the primary mineral component of hydroxyapatite, the crystalline structure that gives enamel its strength. Without enough calcium, the foundation of the tooth is inherently weaker and more susceptible to acid erosion. However, calcium can't do the job alone. Vitamin D is essential for the body to effectively absorb and utilize calcium. You can think of it as the key that unlocks calcium's potential. When both nutrients are abundant, they work synergistically to support the natural repair of enamel. Advising patients to consume foods rich in these nutrients—like dairy, leafy greens, and fatty fish—provides the building blocks needed to fortify their teeth from the inside out.
Foods and Drinks to Avoid with an Early Cavity
Explaining the science behind cavities can be a powerful motivator for patients. Remind them that cavities form when oral bacteria metabolize sugars and starches from food, producing acids that weaken tooth enamel. This process of demineralization is the first step toward a cavity. The most common culprits are not just candies and cookies, but also sugary drinks like sodas, sports drinks, and juices, as well as starchy foods like chips and crackers that linger on tooth surfaces. Advising patients to check labels for hidden sugars and to consume these items in moderation, preferably with meals, can significantly reduce the frequency of acid attacks on their teeth.
Why Sticky Foods Are a Problem
When counseling patients, emphasize that the duration of sugar exposure is just as damaging as the amount. Sticky foods—like gummies, dried fruit, and even starchy snacks like potato chips—adhere to tooth surfaces and resist being cleared by saliva. This creates a prolonged feast for cariogenic bacteria, which continuously metabolize these fermentable carbohydrates and produce enamel-eroding acids. As a result, the pH at the tooth surface remains low for an extended period, accelerating the demineralization process. This constant acid attack is what exacerbates enamel erosion and can quickly push an incipient lesion toward cavitation, making it a critical point to address in any at-home care plan.
What Are the Best Snacks for Healthy Teeth?
Instead of just focusing on what to avoid, provide patients with a list of smart, tooth-friendly snack options. Foods that are firm or crunchy, like apples, carrots, and celery, can help clean teeth and stimulate saliva flow, which is the mouth’s natural defense system. Dairy products like cheese and plain yogurt are also excellent choices. They are low in sugar and contain calcium and phosphates, which help remineralize tooth enamel. Encouraging patients to swap a bag of chips for a handful of almonds or a cheese stick gives them a practical, actionable step toward better oral health. These snacks not only neutralize acids but also actively contribute to strengthening their teeth.
Tooth-Friendly Foods like Nuts and Leafy Greens
Beyond crunchy fruits and dairy, it's important to highlight the role of other nutrient-dense foods in remineralization. Nuts, particularly almonds, are low in sugar and a great source of calcium and protein, which help strengthen teeth. Leafy greens like spinach and kale are packed with calcium, folic acid, and other essential vitamins and minerals that contribute to overall oral health. When you advise patients on dietary changes, explaining that these foods provide the raw materials—calcium and phosphorus—needed to rebuild enamel can make the recommendation more impactful. It shifts the focus from simply avoiding bad foods to actively choosing ones that repair and protect their teeth.
Why Water Is Your Enamel's Best Friend
Saliva is the unsung hero of oral health. It washes away food debris, neutralizes harmful acids, and contains the calcium and phosphate ions needed to repair enamel. As the National Institute of Dental and Craniofacial Research highlights, saliva is essential for the remineralization process. Encourage patients to stay well-hydrated by drinking plenty of water throughout the day, as this supports healthy saliva production. It’s also a good practice to advise them to rinse with water after meals or snacks, especially if brushing isn't possible. This simple habit helps clear residual sugars and acids, giving their enamel a better chance to recover and strengthen.
The Benefits of Fluoridated Drinking Water
Beyond just hydration, the water your patients drink can be a powerful tool against decay, especially if it's fluoridated. Community water fluoridation is a cornerstone of public health because it provides continuous, low-level fluoride exposure that helps strengthen teeth and prevent cavities. When fluoride is present in saliva, it gets incorporated into the enamel during the remineralization process, forming fluorapatite. This new crystal structure is significantly more resistant to acid than the original hydroxyapatite, effectively fortifying the tooth against future attacks. This systemic and topical benefit makes fluoridated water one of the most effective and equitable ways to support the natural process of tooth remineralization and reduce the incidence of caries across the population.
Does When You Eat Affect Your Cavity Risk?
It’s not just what patients eat, but when they eat that matters. Every time they consume sugary or starchy foods, their teeth are exposed to an acid attack for about 20 minutes. If they snack frequently throughout the day, their enamel is under constant assault and never gets the chance to remineralize. Advise patients to limit snacking between meals to give their teeth a break. If they want a sugary treat, it’s better to have it with a meal, when saliva production is higher, rather than as a standalone snack. This strategy minimizes the total time their teeth are exposed to a demineralizing environment, creating a better balance for remineralization to occur.
Nighttime Vulnerability and Reduced Saliva Flow
The oral environment changes dramatically during sleep, and it’s crucial to explain this vulnerability to patients. Saliva production naturally decreases overnight, significantly reducing the mouth's capacity to buffer acids and wash away food particles. This creates a perfect storm for demineralization. Without a steady flow of saliva to neutralize the pH and supply calcium and phosphate, the enamel is left defenseless against acid attacks from any plaque left on the teeth. This is why nighttime oral hygiene is non-negotiable for preventing stage 1 cavities. Reinforce that their last act before bed should be a thorough brushing and flossing session, a routine as fundamental as the high-quality, reliable dental instruments you use for their in-office care. This simple habit is their best defense during the vulnerable overnight hours.
How to Know if Your Treatment Is Working
Once you’ve identified a stage 1 cavity and started a remineralization protocol, tracking progress is the next critical step. Success depends on a combination of professional treatments and the patient's commitment to at-home care. Monitoring the lesion ensures your approach is effective and helps you determine if the treatment plan needs adjustment. It’s a collaborative process that empowers patients and validates your clinical strategy.
The key indicators of successful remineralization are often subtle but definitive. They include visible changes in the tooth’s appearance, shifts in patient-reported sensitivity, and professional assessments during follow-up visits. By carefully observing these signs, you can confirm that the enamel is actively repairing itself and that the carious lesion has been arrested. This diligent monitoring is fundamental to conservative dentistry, preventing the need for more invasive restorative procedures down the line. For accurate assessments, having reliable dental instruments is essential to detect subtle changes in enamel texture and appearance.
What Does a Healing Tooth Look Like?
The earliest sign of demineralization is often a chalky, opaque white spot on the enamel surface. When a remineralization treatment is working, you will notice distinct visual changes to this lesion. The spot may appear less bright and start to look more translucent as minerals are redeposited into the enamel structure. Over time, the lesion can shrink or even seem to blend back into the surrounding tooth surface, becoming less noticeable. These changes confirm that the enamel is hardening and becoming more resistant to acid attacks. For the best view, use instruments from the Titanium Black Series, which are designed to reduce glare and enhance visibility during detailed examinations.
Is Your Tooth Sensitivity Getting Better?
While stage 1 cavities are often asymptomatic, some patients may report mild sensitivity to temperature changes or sweet foods. As the enamel remineralizes and the porous surface begins to seal, this sensitivity should decrease. Be sure to ask patients if they’ve noticed any changes during their follow-up appointments. A reduction in sensitivity is a strong subjective indicator that the tooth is healing and the nerve is becoming better protected. This feedback, combined with your clinical observations, provides a more complete picture of the treatment's effectiveness and helps keep the patient motivated in their at-home care routine.
When Should You See Your Dentist Again?
Regular professional evaluation is non-negotiable for managing incipient lesions. Schedule follow-up appointments to visually inspect the area and document any changes. These visits are the perfect time to reapply professional fluoride varnish or apply sealants if the tooth is at high risk. During these check-ups, you can use a fine explorer from the Pro Series to gently assess the surface texture; a remineralizing surface will feel smoother and harder than an active lesion. Consistent six-month recalls allow for early detection of any new issues and ensure the long-term stability of the arrested lesion, preventing its progression into a more serious cavity.
Building a Plan to Prevent Future Cavities
Arresting a stage 1 cavity is just the beginning; preventing recurrence requires a sustainable long-term plan. This strategy should be built around consistent at-home care, including the use of prescription-strength or over-the-counter fluoride toothpaste and mouth rinses. Educate your patients on proper brushing and flossing techniques and discuss dietary modifications to limit sugar and acid exposure. Reinforce that remineralization is an ongoing process that requires daily commitment. By equipping them with the right knowledge and recommending effective dental supplies, you can help them maintain a healthy oral environment and protect their enamel for years to come.
Frequently Asked Questions
Q: What is the key difference between a Stage 1 lesion and a cavity that needs a filling?
A: The difference comes down to structural integrity. A Stage 1 (incipient) lesion has demineralization, but the enamel surface is still intact—there’s no actual break in the tooth. This means it can still be reversed through remineralization. A cavity that needs a filling has progressed to cavitation, where a physical hole has formed. At that point, the damage is irreversible and requires restorative treatment.
Q: Besides fluoride varnish, what other professional treatments are effective for incipient lesions?
A: Dental sealants are highly effective, particularly for pits and fissures on occlusal surfaces. They act as a physical barrier, protecting vulnerable enamel from plaque and acids. In addition, a thorough professional cleaning is essential. Removing plaque biofilm eliminates the source of acid, allowing natural remineralization—supported by saliva and fluoride—to take place.
Q: How can I best explain the role of diet to my patients without being preachy?
A: Keep it simple and practical. Focus on easy substitutions rather than restrictions—like choosing water over sugary drinks or swapping processed snacks for cheese or crunchy vegetables. Emphasize that it’s not just sugar itself, but how often teeth are exposed to acid. Framing it as giving teeth time to “recover” between meals makes the message more relatable and less overwhelming.
Q: Can a white spot lesion ever become stable or "arrested" without fully disappearing?
A: Yes. When remineralization is successful, the lesion becomes arrested, meaning it has stopped progressing. The enamel surface hardens and becomes more resistant to decay. Visually, the area may appear less chalky and more translucent or shiny. Even if it doesn’t completely disappear, it is no longer active.
Q: What is the single most critical piece of at-home advice for a patient with a Stage 1 cavity?
A: Consistent use of fluoride toothpaste is key. Patients should brush twice daily for two minutes and avoid rinsing immediately after—just spit out the excess. This allows fluoride to remain on the teeth longer, enhancing remineralization and strengthening enamel throughout the day and night.
Related Articles
- Fluoride Varnish Composition: A Clinician's Guide | SurgiMac Dental Supply
Tags
Blog posts
-
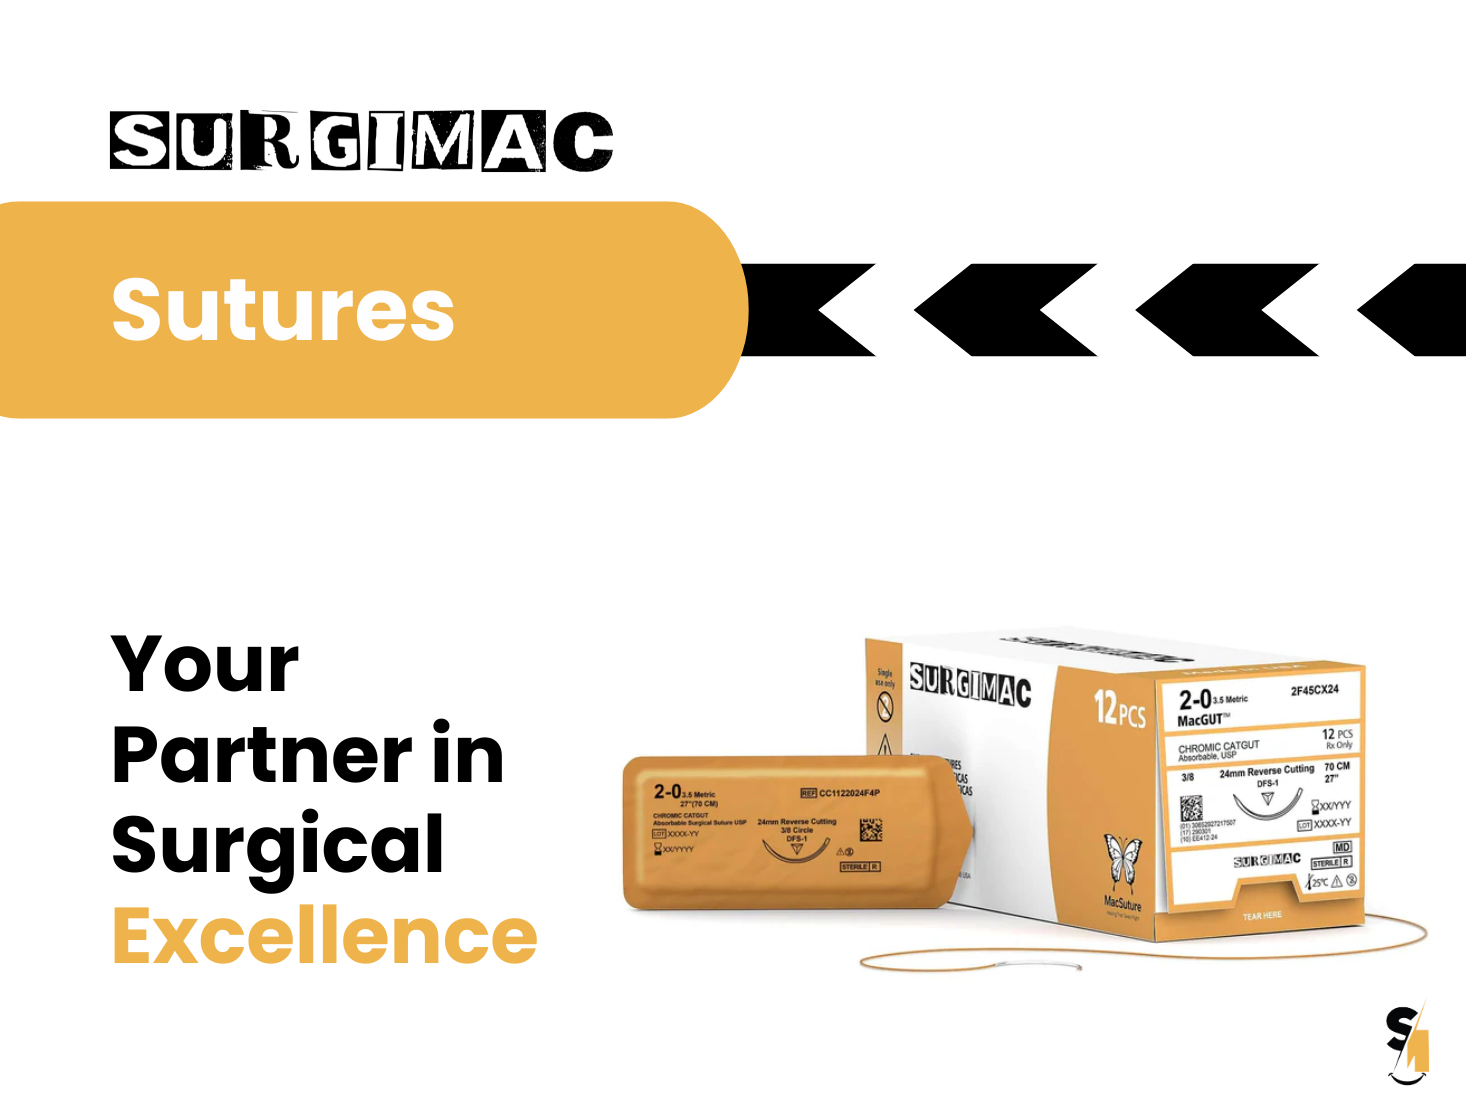
, by SurgiMac A Clinician's Guide to Absorbable Suture Material
-
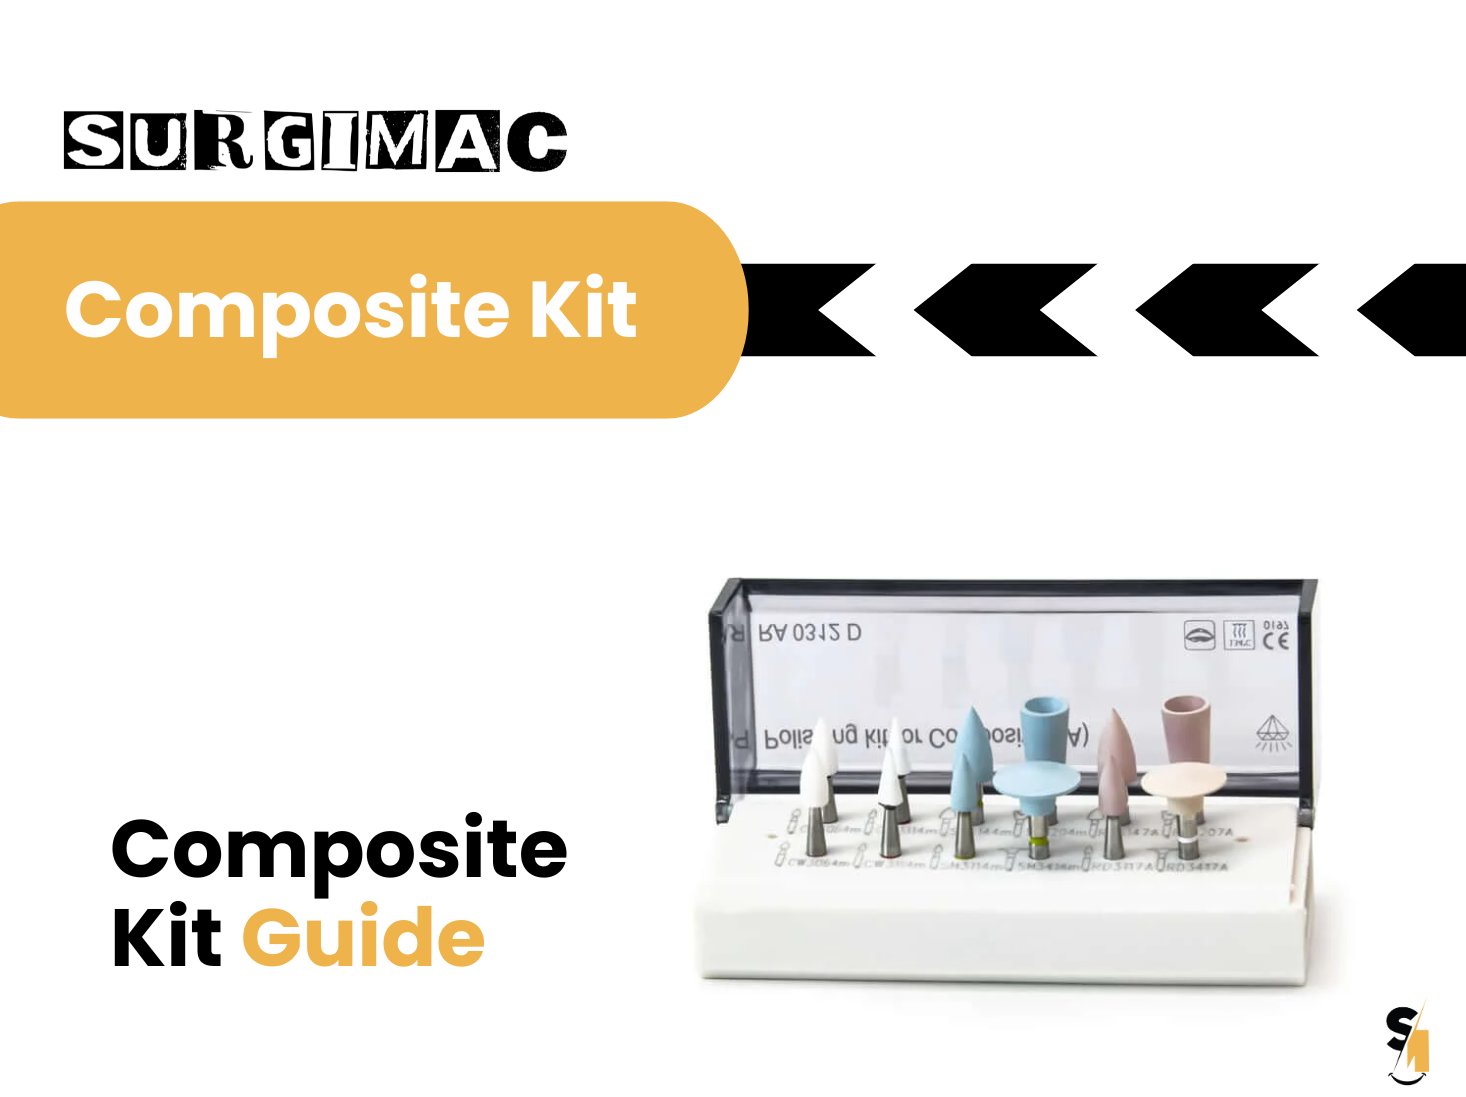
, by SurgiMac A Clinician's Guide to Dental Composite Resin Kits
-
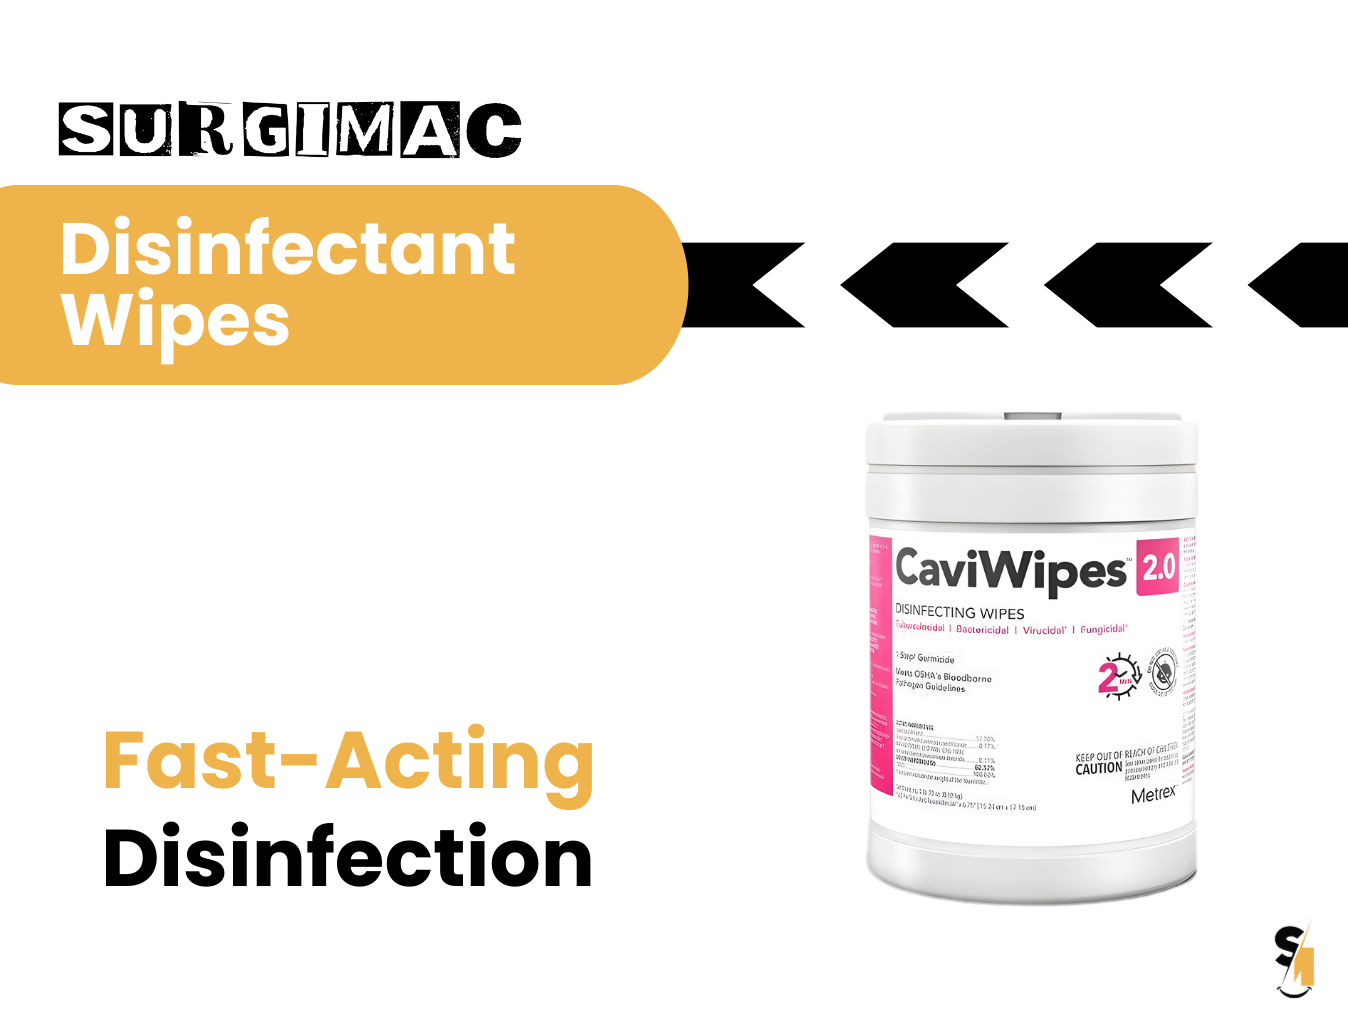
, by SurgiMac How to Disinfect with Metrex CaviWipes Correctly
