
Dental Scalers vs Curettes: Clinician Guide
- , by SurgiMac
- 17 min reading time
Shop dental scalers with confidence. Compare scalers vs curettes, use cases, ergonomics, and buying criteria for clinical teams.
Instrument choice can separate clean deposit removal from unnecessary soft-tissue trauma. Dental professionals need more than a familiar pattern; they need the right working end, handle, and reach for each site.
Shop professional dental scalers from SurgiMac
Dental scalers remove visible supragingival calculus, while curettes use rounded toes and backs for subgingival scaling and root planing. Choose by deposit location, access, tissue conditions, blade design, tactile feedback, sharpness, handle comfort, and whether manual or ultrasonic instrumentation fits the procedure.

The central question is not which instrument is universally better, but which design fits the deposit, surface, and procedure. Dental scalers vs curettes: the clinical distinction clarifies that choice first. Before comparing specific patterns and handles, the path begins with
Dental scalers vs curettes: the clinical distinction
Dental scalers and curettes are hand instruments for calculus removal, but their working ends suit different clinical zones. A scaler has a pointed toe and a triangular blade cross-section. A curette has a rounded toe and back, with a blade shaped for safer work below the gingival margin. These design differences guide access, adaptation, and stroke selection.
Working-end design
The pointed toe of a sickle scaler helps engage firm deposits on visible crown surfaces. Its two cutting edges meet at a sharp tip. This form supports strong pull strokes, but the pointed profile requires care near soft tissue.
A curette presents a rounded toe and rounded back for access within the sulcus or periodontal pocket. Its blade can adapt to root contours while limiting tissue trauma. Universal curettes have two usable cutting edges, while area-specific curettes use one lower cutting edge.
| Feature. | Scaler. | Curette. |
|---|---|---|
| Zone. | Above gumline. | Below gumline. |
| Toe. | Pointed. | Rounded. |
| Back. | Angular. | Rounded. |
| Blade. | Triangular. | Semicircular. |
| Task. | Crown calculus. | Root scaling. |
Clinical use by treatment zone
Dental scalers are generally selected for supragingival deposits, where the clinician can see and reach the calculus. Curettes support subgingival scaling and root planing. This distinction is reflected in a review of periodontal instruments, which links each instrument type to its main treatment zone.
Within each group, shank angle, blade size, and rigidity affect access and control. A posterior sickle scaler may reach interproximal crown deposits that a straight anterior design cannot. For a practical product example, the Air Series 23 dental scaler pairs a sickle working end with a clinician-focused handle.
Why selection matters
Using the right working end helps the blade adapt closely to the treatment surface. It also supports controlled strokes and reduces unwanted contact with nearby tissue. Selection should account for the treatment site, access, and deposit type, as described in research on manual instrument choice.
A scaler is not simply a more aggressive curette, and a curette is not a duller scaler. Each has a distinct role in a complete periodontal setup. Clinicians may move between both during one appointment as they assess deposit location, root shape, and tissue condition.
When should clinicians use dental scalers?
Supragingival calculus and plaque
Clinicians use dental scalers when plaque or hardened calculus is present above the gingival margin. These tools support controlled removal from visible crown surfaces during preventive care and periodontal maintenance. An academic review describes scalers as tools for supragingival deposits and curettes as tools for subgingival scaling and root planing.
Sickle scalers suit firm supragingival deposits because their pointed tip and working edges can engage calculus. The clinician should adapt the working end to the tooth and use controlled pull strokes. A professional sickle scaler may fit routine periodontal maintenance when its design matches the site.
Interproximal and posterior access
Instrument choice changes with the treatment site. Interproximal areas often need a working end that can reach between teeth while staying adapted to the surface. Posterior teeth may also call for a different shank angle than anterior teeth because access and line of sight differ.
Clinicians should assess the deposit, tooth surface, and access before selecting an instrument. Research on manual instrumentation notes that site, access, and deposit type guide instrument selection. A paired or double-ended setup can help a team cover distinct anterior and posterior surfaces without forcing one design into every site.
Clinical boundaries and complementary tools
Dental scalers are professional clinical instruments, not routine tools for at-home scraping. A trained clinician can examine tissue condition, locate deposits, choose the correct working end, and control pressure. That clinical process also helps the provider decide when a scaler is not the right choice.
When deposits extend below the gingival margin, a curette may offer a more suitable shape for the task. Ultrasonic units may help with bulk calculus removal, while hand scalers provide tactile control for targeted finishing. Many appointments use these tools together, based on the findings and the treatment plan.
Selection does not end with the instrument type. The team should check edge condition, working-end integrity, handle grip, and sterilization status before use. These checks support safe, consistent scaling across preventive and periodontal workflows. Clear tray organization also helps clinicians select the planned tool without delay.
When are curettes the better instrument choice?
Subgingival access and tissue adaptation
Curettes are usually the better choice when treatment moves below the gingival margin. Their rounded toe and rounded back help the working end adapt to root surfaces with less risk of tissue injury. By contrast, the pointed tip of many dental scalers suits deposits above the gumline. A clinical review describes curettes as tools for subgingival scaling and root planing.
This design matters in periodontal pockets, furcations, and other sites where soft tissue surrounds the working end. The clinician can guide the rounded toe along the root while keeping the cutting edge against the deposit. Curettes also support controlled finishing strokes after larger deposits have been removed. This makes them useful for smoothing the root surface and checking for small deposits by touch.
Universal and area-specific curettes
A universal curette has two cutting edges that can work on most tooth surfaces. Its blade face sits at a right angle to the lower shank. Clinicians often choose it when several surfaces need treatment and frequent instrument changes would slow the procedure. Correct angulation still depends on the operator's grip, position, and access to the site.
An area-specific curette, often called a Gracey curette, is shaped for a set group of tooth surfaces. It has one main cutting edge, and its blade is offset from the lower shank. That offset helps the edge reach the planned root surface at a useful working angle. SurgiMac's guide to dental curettes gives more detail on common curette designs and uses.
Choosing for deeper periodontal work
Depth alone does not decide the instrument. Clinicians also assess tooth surface, pocket shape, access, deposit size, and tissue condition. Research on hand instruments notes that selection depends on the treatment site, access, and deposit type. It also reports that hand tools provide strong tactile feedback during instrumentation.
For broad access across many surfaces, a universal curette may be the practical starting point. For deep pockets or a hard-to-reach root area, an area-specific curette may adapt more closely. The working-end shape affects which surfaces the clinician can reach, according to a study of root instrumentation. In many cases, clinicians pair curettes with ultrasonic or manual scalers rather than treating either tool as a complete substitute.
How ergonomics affect scaler and curette selection
Handle fit and hand fatigue
Ergonomics should guide the choice of dental scalers and curettes because these tools depend on controlled hand pressure. Handle diameter, weight, balance, and surface texture shape how firmly a clinician must grip. Ergonomic handle designs can reduce the need for a high-force grip, according to the National Library of Medicine.
A handle should feel secure without forcing the thumb and fingers into a tight pinch. A wider or textured handle may help some clinicians maintain control with less strain. Yet handle preference varies with hand size, glove fit, and technique. Teams should assess comfort during a full procedure, not just when holding an unused instrument.
Weight also needs context. A light instrument may ease repeated wrist and finger motion during a long appointment. Still, balance matters as much as total weight. A poorly balanced handle can make the working end feel harder to guide, which may lead clinicians to grip more firmly.
Tactile sensitivity and working access
Tactile sensitivity helps the clinician feel deposits, tooth contours, and changes along a root surface. Hand instruments can provide strong tactile feedback during scaling. The right handle should support that feedback rather than mute it. Excess grip force may also make subtle changes harder to sense.
Access depends on more than the handle. The shank angle and working-end shape affect how an instrument reaches each tooth surface. Research on periodontal instrumentation notes that selection depends on the site, access, and deposit type. These factors are reviewed in a clinical overview of scaling instruments.
Visibility is another practical concern. A bulky handle can block the view in a narrow posterior area, while a slimmer profile may leave more working space. Clinicians should pair the handle with the correct scaler or curette design. They should also check whether the complete instrument supports clear sight lines and stable adaptation.
Matching instrument series to the procedure
SurgiMac's Air Series, Slim Series, and Titanium Black Series offer relevant options for different clinical preferences. Air Series instruments focus on ergonomics and precision for longer procedures. For example, the Air Series 23 dental scaler lets buyers review one handle and working-end combination for supragingival scaling.
Slim Series instruments focus on tactile sensitivity, which may suit deep periodontal cleaning and sites with limited access. Titanium Black Series instruments focus on durability for demanding use. These features do not make one series right for every clinician. Selection should reflect the procedure, working area, grip comfort, and desired feedback.
Before standardizing a kit, clinicians can compare instruments while wearing their usual gloves. They should test grasp comfort, reach, visibility, and control on the surfaces treated most often. A practical selection process also accounts for fatigue across the day. This helps the team choose precision instruments that fit both the task and the user's hand.
What to look for when buying professional dental scalers
Buying dental scalers starts with the work your team performs, not a preferred brand or a single low price. Dentists, hygienists, clinics, and DSOs should compare each instrument against procedure mix, operator needs, and the full cost of upkeep.
Clinical fit and working ends
Match the instrument pattern to the tooth surface, deposit type, and access needed. Research on periodontal instrumentation confirms that site, access, and deposit type guide instrument selection. A well-planned setup may include sickle scalers for supragingival work, curettes for root surfaces, and ultrasonic units for bulk deposits.
-
Define the procedure mix. Review routine prophylaxis, periodontal maintenance, and deep scaling volume. Then choose patterns and working ends that cover those tasks without needless overlap.
-
Check steel and tip quality. Look for consistent working-end shape, a firm shank, corrosion resistance, and clear material details. Ask how the edge holds up through use, cleaning, and sterilization.
-
Compare handle design. Let frequent users assess diameter, texture, balance, weight, and grip security while gloved. The right handle should support control without requiring a forceful pinch.
-
Plan sharpening and maintenance. Confirm whether the chosen scaler needs routine sharpening and whether your team has the right stones, guides, and training. Include inspection and replacement rules in the purchase plan.
-
Build complete kits. Set a standard instrument mix for each procedure tray, then account for sterilization turnaround and peak schedules. Extra sets help prevent delays when instruments are still in processing.
-
Test before standardizing. Ask several clinicians to use a small trial order. Record feedback on access, tactile response, comfort, edge retention, and ease of cleaning before a large rollout.
-
Review supplier performance. Compare stock depth, fulfillment speed, product traceability, reorder consistency, and support. For multi-site groups, verify that every location can order the same approved items.
Maintenance and infection control
Price comparisons should include labor and supplies for sharpening, inspection, cleaning, sterilization, and replacement. The CDC infection control guidance for dental settings makes reliable instrument processing a core purchasing concern. Avoid patterns or handle designs that create preventable cleaning or inspection problems.
Track when each scaler enters service, needs sharpening, or leaves the kit. This record helps procurement teams spot uneven wear and set sound replacement intervals. It also shows whether a lower purchase price produces a higher cost over time.
Consistent kits and supply
Standardization can simplify training, inventory counts, reorders, and instrument replacement across a clinic or DSO. Start with a defined core kit, then allow approved specialty patterns for clinicians who need them. SurgiMac serves as a national dental supply source, including the ergonomic professional dental curettes for professional use.
Before committing to volume, confirm item numbers, pack sizes, lead times, and acceptable substitutes in writing. A dependable supplier should make repeat orders predictable and help resolve shortages without forcing unplanned changes to clinical kits.
Care, sharpening, and replacement considerations
Care decisions should follow each instrument maker's instructions and the dental practice's infection control plan. A practical system combines routine inspection, sound sharpening habits, careful cleaning, and clear rules for removing worn tools from service.
Because designs and materials vary, no single care schedule fits every scaler or curette. Teams should document their process and train staff to spot changes that may affect safe, precise use.
Inspection and replacement signs
Start each cycle by viewing the instrument under good light and checking it by hand. Check the working end for a dull edge, bent tip, cracks, pits, stains, or signs of corrosion. Also inspect the handle and connection points for looseness or damage.
CDC dental infection control guidance supports proper cleaning and sterilization as core safety steps. Remove any damaged instrument from the normal workflow until it can be assessed. Set aside tools with loose parts, deep corrosion, or a working end that no longer holds its intended form.
Sharpening and edge retention
Manual dental scalers and curettes need a sharp edge to work as intended. A consistent edge can help the clinician use controlled strokes without making up for dullness with extra pressure. Sharpen only with a method and stone suited to the instrument.
Follow the instrument maker's angle, lubrication, and testing guidance to avoid changing the blade's shape. After sharpening, inspect the edge and remove any debris before the instrument returns to processing. Replace the instrument when sharpening can no longer restore its intended shape, or when the blade becomes thin and weak.
For product-specific care details, teams can review the construction and maker guidance for an ultrasonic scalers.
Cleaning, corrosion prevention, and sterilization
Cleaning must come before sterilization because remaining soil can interfere with the process. Keep contaminated instruments contained during transport, and use handling methods that protect staff from sharp working ends. Dry instruments as directed before packaging to limit moisture-related staining or corrosion.
Use only compatible cleaning agents, equipment, packaging, and sterilization settings listed in the relevant instructions. Keep unlike metals and harsh chemicals from causing avoidable surface damage. The CDC notes that sterile instruments help prevent cross-contamination, so teams should also track each cycle and store processed tools as directed.
Review the full workflow when an instrument shows repeated staining, rapid dulling, or early corrosion. The cause may involve the tool, the cleaning agent, water quality, handling, or sterilizer conditions.
Frequently Asked Questions
Can I use a dental scaler at home?
Patients should not use professional dental scalers at home. Their sharp working ends require training, controlled angulation, and clear access to the treatment site. Improper use may injure gingival tissue, scratch tooth surfaces, or leave deposits behind. Routine brushing, interdental cleaning, and professional preventive appointments are safer ways to manage plaque and calculus.
Why are manual and ultrasonic scalers used differently?
Ultrasonic scalers use high-frequency vibration to disrupt deposits, making them useful for efficient initial removal of heavier calculus. Manual dental scalers rely on controlled clinician-applied force and provide strong tactile feedback for targeted finishing. According to a peer-reviewed review, clinical care often combines manual and ultrasonic instrumentation based on deposit type and treatment needs.
What are the risks of improper dental scaler use?
Improper scaler use can traumatize gingival tissue, damage tooth surfaces, burnish calculus, or reduce effective deposit removal. Poor adaptation and angulation also increase the chance of slipping. Clinicians should match the working end to the treatment site, maintain a stable fulcrum, and inspect instruments regularly. The CDC also requires proper cleaning and sterilization to support infection prevention.
How do dental scalers prevent gum disease?
Dental scalers help manage periodontal risk by removing plaque, calculus, and other deposits that retain bacteria near the gingival margin. Removing these deposits supports easier daily plaque control and healthier periodontal tissues. Scalers are generally selected for supragingival deposits, while curettes support subgingival scaling and root planing, as described in a peer-reviewed periodontal review.
Ready to choose instruments with confidence?
Waiting to define clear scaler and curette selection criteria can leave clinicians using instruments that do not match the procedure or access needs. Poorly matched working ends and handles can slow appointments, increase hand strain, and make consistent technique harder across the clinical team. Starting now gives your practice time to compare designs, gather clinician input, and standardize purchasing before worn instruments or rushed orders limit choices.
Ready to equip your team for efficient, precise clinical work? Shop professional dental instruments now to review scaler and curette options for your practice. Request support from SurgiMac to compare Air Series and Slim Series handle designs for specific clinical needs. Contact SurgiMac with your preferred instrument patterns, quantities, and purchasing questions to plan your next order with confidence.
Related Articles
Tags
Blog posts
-
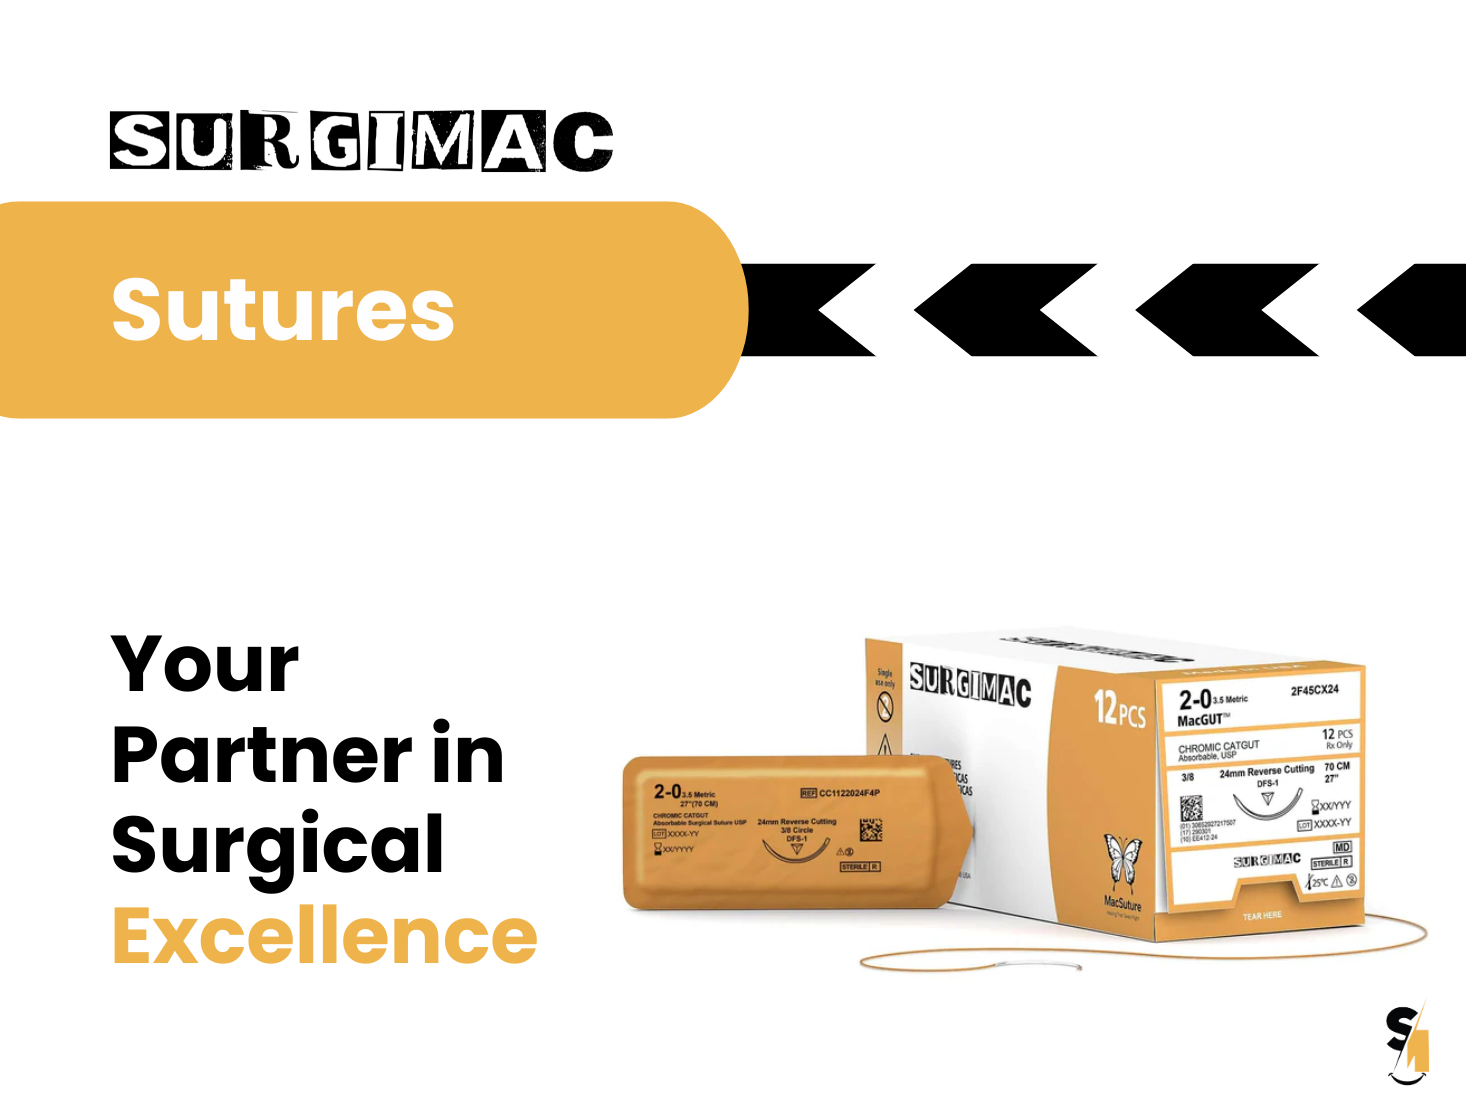
, by SurgiMac A Clinician's Guide to Absorbable Suture Material
-
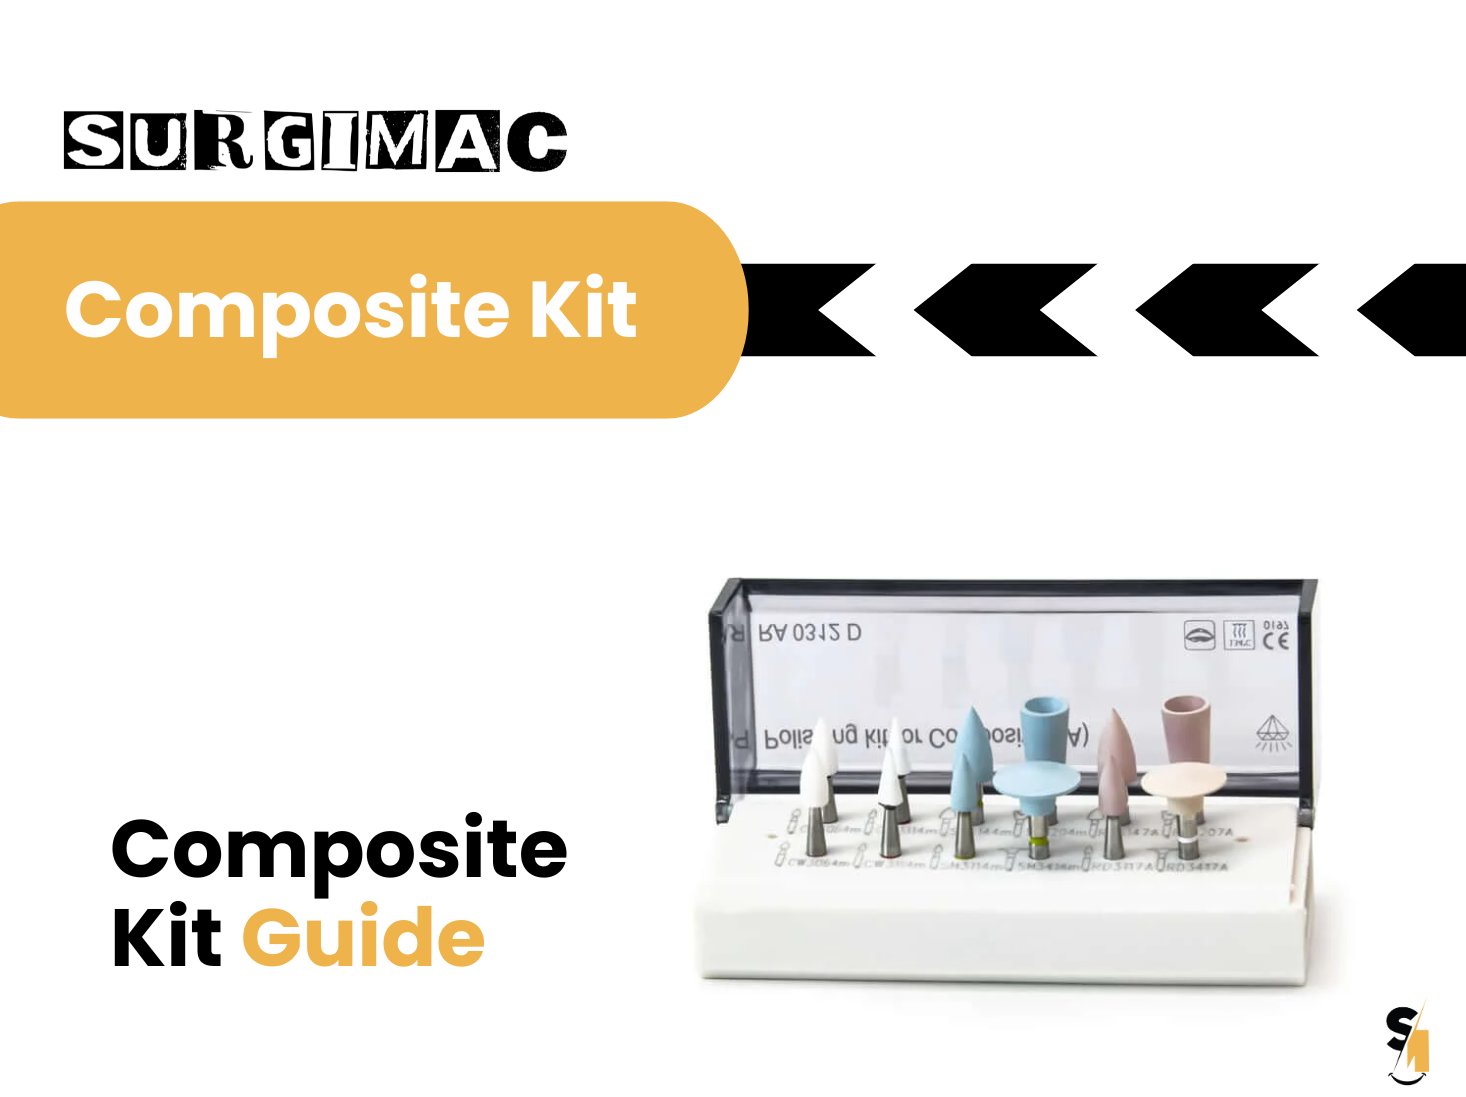
, by SurgiMac A Clinician's Guide to Dental Composite Resin Kits
-
, by SurgiMac How to Disinfect with Metrex CaviWipes Correctly
