
How to Use Dental Composite Resin: Clinical Workflow
- , by SurgiMac
- 19 min reading time
Learn how to use dental composite resin in a clinical workflow, from preparation and isolation through incremental placement, curing, finishing, and selection.
Composite restorations are technique-sensitive procedures: moisture control, material selection, placement, and curing all influence how predictably the restoration reproduces tooth anatomy and maintains marginal integrity. A consistent workflow helps the dental team identify case limitations before treatment begins, prepare the field deliberately, and keep material-specific steps aligned with the manufacturer's instructions for use.
To understand how to use dental composite resin, begin with diagnosis and case selection. Control the operative field and follow the adhesive sequence. Place and cure the resin according to its indication and IFU. Finish by checking anatomy, contacts, occlusion, and surface polish.
Direct restorative materials are placed directly onto tooth structure without laboratory preparation. Resin-based composite is commonly selected for fillings and veneers because it offers adhesive bonding and natural tooth color. The ADA also lists large restorations among situations requiring caution or an alternative approach. Before selecting a shade or opening a syringe, confirm that the case, preparation, and planned workflow support a predictable direct restoration.
Review composite restorative materials for your practice
What to Confirm Before Placing Composite Resin
Establish the indication and restorative diagnosis
Before selecting a shade or opening a syringe, confirm the direct resin composite indication. Check the tooth, defect, and patient-specific risk factors. Direct restorative materials are placed directly into the prepared cavity, generally without laboratory fabrication. This makes them useful when the clinical plan calls for a chairside restoration. The ADA describes resin-based composites as materials used for fillings and veneers. Material selection still depends on the extent and location of the defect, occlusal demands, remaining tooth structure, isolation prospects, and the clinician's diagnosis.
Assess the pulpal and periapical status, caries activity, periodontal environment, and occlusion before preparation. A large restoration may be a contraindication for resin-based composite in the ADA comparison, so do not treat every defect as a direct-composite case. Consider whether the tooth can support predictable adhesive isolation and whether the planned restoration can achieve adequate contour, contact, function, and cleansability. If the defect or tooth condition points toward an indirect restoration or another treatment, case selection should take precedence over material preference.
Plan conservative preparation and moisture control
Define the caries removal and preparation strategy before beginning. A 2024 evidence-based guideline advocates one-stage selective caries removal near the pulp and addresses preparation, field isolation, matrix use, adhesive technique, light curing, and polishing. Read the full clinical guideline when establishing or reviewing the practice workflow. The preparation should preserve sound tooth structure while creating access for caries control, adhesive application, composite adaptation, and finishing.
Then decide how the operating field will be isolated. Evaluate gingival position, saliva control, bleeding risk, tooth accessibility, and whether a matrix or wedge will be needed to recreate proximal anatomy. Isolation is not a minor setup detail. It determines whether the adhesive and composite can be placed under the moisture conditions required by the selected system. Assemble the needed dental filling instruments before starting so the procedure is not interrupted after etching or bonding.
Choose shade and material before placement
Confirm shade under appropriate clinical lighting before the tooth becomes dehydrated. Record the planned shade and consider the surrounding tooth structure, opacity, translucency, and whether multiple shades are needed to reproduce anatomy. Plan the material around the indication and handling demands rather than choosing by shade alone. Verify the resin's recommended increment, curing requirements, adhesive compatibility, working time, and finishing protocol in the manufacturer's instructions for use.
Direct composite can offer adhesive bonding and a natural tooth color, but it also has limitations, including potential staining or discoloration. Make the final decision using diagnosis, isolation, anatomy, material instructions, and clinical judgment. This confirmation step makes the later placement sequence more predictable and keeps the workflow focused on a restoration the tooth can support.
How to Use Dental Composite Resin for Field Control and Bonding
Predictable composite placement begins before the material reaches the preparation. Field control, matrix selection, and adhesive handling all influence how well the restoration adapts to tooth structure. A 2024 evidence-based guideline addresses isolation, matrix techniques, and adhesive techniques as connected parts of direct restorative care, rather than isolated product steps. Use that broader workflow as a clinical framework, then follow the instructions for use (IFU) supplied with the specific composite, etchant, adhesive, and curing system.
Establish a Clean, Dry, Visible Field
Isolation should provide more than a dry surface. It should maintain visibility, protect the working area from saliva and crevicular fluid, and give the clinician enough access to place and shape the material. The appropriate approach depends on the tooth, preparation, gingival relationship, patient factors, and procedure. The evidence-based guideline reports that various isolation techniques can be effective, so select the method that gives the team reliable moisture control for the case.
Before conditioning enamel or dentin, confirm that the field remains clean and stable. If contamination occurs, stop and manage it according to the adhesive system's IFU rather than continuing through the bonding sequence. Coordinate suction, retraction, and instrument transfer so the operator does not have to sacrifice access or visibility during placement. The dental filling instruments used should support controlled access and efficient handling without disturbing the isolated field.
Use the Matrix to Rebuild Contours and Contacts
For a proximal restoration, matrix selection should support the anatomy you need to reproduce. An anatomically preformed sectional matrix, combined with appropriate wedging and separation when indicated, can help establish a more natural proximal contour and contact. The same guideline recommends anatomically preformed sectional matrices to enhance restoration quality. Check that the matrix is adapted at the cervical margin and stable before beginning the adhesive procedure. A poorly adapted matrix can allow excess material, compromise contour, and make finishing more difficult.
Matrix placement is also a visibility and access decision. Confirm that the matrix does not obstruct the bonding surface or prevent adequate light access where curing will occur. If the preparation or adjacent anatomy makes a sectional matrix unsuitable, choose another matrix approach that meets the case requirements and the product system's recommendations.
Condition and Bond According to the Product IFU
Etching and adhesive application must be treated as a sequence, not interchangeable steps. Phosphoric acid etching is recommended in the evidence-based guideline to enhance restoration quality, but the correct substrate. Application time, rinsing, moisture condition, number of coats, agitation, air thinning, and curing requirements vary by system. Do not transfer timing or drying instructions from one adhesive to another.
Prepare only the area specified by the selected protocol, keep the field controlled during rinsing and drying, and inspect the surface before applying adhesive. Follow the IFU for whether the adhesive is light cured before composite placement and for the required curing conditions. The goal is a clean, consistent interface between tooth structure and resin composite, while recognizing that no adhesive technique can assure a perfectly sealed restoration in every circumstance. Careful isolation and disciplined sequencing improve the opportunity for quality, but they do not replace diagnosis, case selection, or clinical judgment.
A Step-by-Step Composite Placement Workflow
Once the field is controlled and the adhesive protocol is complete, placement should proceed as a deliberate sequence rather than a single bulk fill. The objective is to adapt each increment closely to the prepared surfaces, preserve the intended anatomy, and give the curing light a realistic opportunity to polymerize the material. Light polymerization is a crucial part of composite processing, and incremental techniques are reviewed specifically as methods for managing polymerization shrinkage stress in direct restorations. See the 2024 evidence-based guideline and the review of incremental composite techniques for the supporting clinical literature.
Place and adapt each increment
- Confirm the material plan. Review the composite's indication, viscosity, curing requirements, and manufacturer instructions before dispensing. Exact increment thickness and exposure time are not universal values. They depend on the material, shade, restoration geometry, curing device, light output, and the applicable IFU. Use the product instructions and clinical judgment as the controlling references.
- Deliver a controlled increment. Place only the amount that can be adapted and cured predictably. Keep the increment in close contact with the bonded walls and avoid trapping voids. Use an instrument appropriate to the material's handling characteristics, then spread the composite to the planned contour without unnecessarily pulling it away from the preparation.
- Adapt the internal anatomy. Press the material into line angles, proximal areas, and other intended contact zones before sculpting the outer form. For posterior work, build toward the occlusal anatomy in a controlled manner. For anterior work, preserve the planned facial contour and transition areas rather than overbuilding and relying on aggressive finishing later.
- Manage shrinkage stress through the sequence. Polymerization shrinkage is a major challenge in resin-based composite placement, so clinicians must address its possible adverse effects. Use the selected incremental approach consistently, keep increments within the material's stated limitations, and avoid creating an unnecessarily large mass that is difficult to adapt or cure. No placement method can guarantee a perfectly sealed adhesive restoration, so careful adaptation and moisture control remain essential.
- Position the curing light deliberately. Bring the light guide as close and as perpendicular to the restoration surface as the anatomy and equipment permit. Stabilize the guide during exposure and account for access limitations, intervening matrix components, and the direction of the surface being cured. If the restoration requires multiple accessible surfaces or orientations, follow the device and material instructions for the appropriate exposure sequence.
Verify the cure before transitioning
After each exposure, inspect the increment for obvious uncured, soft, displaced, or contaminated material before adding the next layer. A light-cured surface can appear acceptable while deeper areas remain inadequately polymerized if access, distance, angulation, shade, or exposure conditions were unfavorable. Verify that the light is functioning as expected and that the guide reached the intended position. If the material or device IFU calls for additional exposures, complete them before continuing. Do not use a guessed universal exposure time as a substitute for the manufacturer's instructions.
Carry the anatomy forward
Before placing the next increment, lightly inspect the transition between layers and correct any visible gap, fold, or unsupported edge while access remains available. Continue from the deeper or more confined anatomy toward the final occlusal or facial form, maintaining a clear plan for cusp, ridge, contact, or incisal architecture. Each new increment should join the previous one without obscuring defects that will become difficult to reach. When the final increment is placed, reserve enough material only to establish the intended contour. A disciplined sequence reduces the amount of correction required during finishing and supports a more repeatable restoration workflow.
Finishing, Occlusion, and Polishing Checks
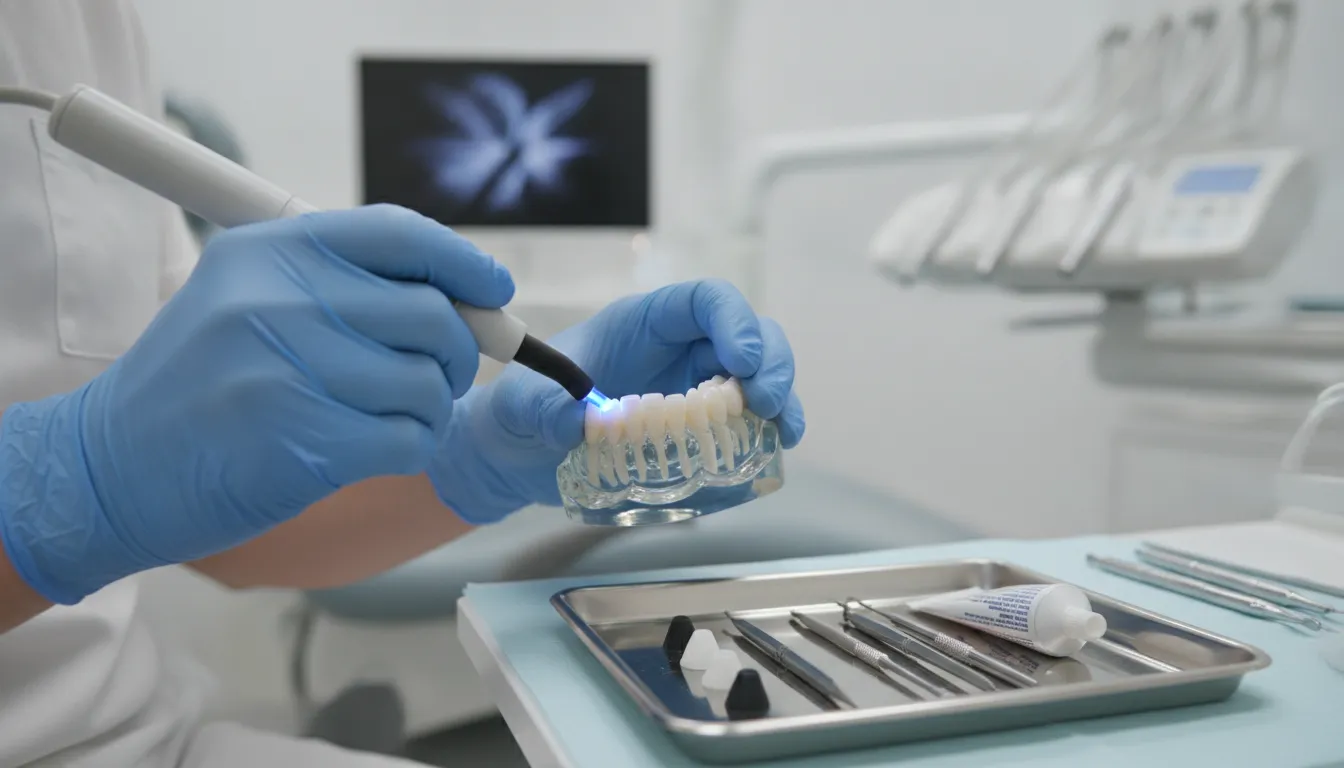
Finishing is the quality-control phase of a direct composite restoration. After the material has been polymerized, inspect the restoration under good illumination and refine it systematically. A 2024 evidence-based guideline addresses isolation, matrix and adhesive techniques, light curing, and polishing as connected parts of restorative care, rather than isolated steps. Its recommendations support using a deliberate finishing sequence that follows the anatomy of the tooth and the intended occlusion. Review the guideline details when developing or updating the practice protocol.
Refine contours and verify proximal contacts
Begin by removing visible flash and excess composite while preserving marginal anatomy. Work conservatively around the gingival margin, line angles, marginal ridges, and embrasures. The restoration should transition smoothly into the surrounding enamel without a ledge that can retain plaque or irritate the periodontium. Select the appropriate rotary instrument and speed for the material and location. A diamond burs for finishing reference can help the team review grit selection and finishing applications, while a guide to carbide burs for restorations provides additional context for contour refinement.
Check the proximal contact with an appropriate contact strip or floss. Floss should pass through the contact with controlled resistance and should not shred or catch on an overhang. If the contact is open, too tight, or obstructed by excess material, correct the contour before final polishing. For posterior restorations, inspect the marginal ridge relationship and occlusal embrasures from both the occlusal and proximal views.
Check occlusion before final polish
With the patient positioned appropriately, use articulating paper to assess static and functional contacts. Ask the patient to close normally, then evaluate excursions when indicated by the case. Compare the marked contacts with the preoperative occlusion and the planned anatomy. Reduce only high or interfering areas, using light, controlled strokes that avoid flattening functional cusps or creating unnecessary changes to the restoration. Recheck after each adjustment. Occlusal assessment is not a substitute for diagnosis or case-specific clinical judgment, and the material manufacturer's instructions remain authoritative for finishing compatibility.
Polish the surface and document the result
Progress from contouring instruments to the polishing system specified for the composite. Use the sequence recommended by the manufacturer, keeping the working field visible and avoiding excessive pressure or heat. Polishing composite restorations is advised to improve surface finish, and the guideline notes that adopting evidence-based best practices can improve restoration quality and longevity. The cited PMC guideline supports that quality-focused approach without promising a fixed service life for every restoration.
Before dismissing the patient, inspect margins, proximal contacts, occlusion, surface gloss, and soft-tissue response. Record the tooth and surfaces treated, restorative material and shade, adhesive and curing system when relevant, occlusal adjustments, and any planned follow-up. Consistent documentation gives the restorative team a clear reference for maintenance and future evaluation.
How to Choose Composite Resin for Practice Workflow
Material selection should begin with the restoration and the way your team delivers care, not with a product label alone. Resin-based composites are recognized by the American Dental Association as a direct restorative material category, with common applications including fillings and veneers. The appropriate choice still depends on diagnosis, cavity design, tooth location, isolation, shade requirements, and the manufacturer's instructions for use (IFU).
Review handling before adding a composite to a standard operatory setup. A material that supports the intended placement technique should be easy for the clinician and assistant to dispense, adapt, sculpt, and clean up without disrupting the appointment sequence. Consider whether the indication calls for a sculptable material, a more flowable consistency, or a bulk-fill workflow. Do not assume viscosity alone determines suitability. Confirm the approved indication, recommended increment or layer limitations, and compatibility with the adhesive and curing system used in your practice.
| Workflow need | Selection questions | Verification step |
|---|---|---|
| Indication and anatomy | Is the material indicated for the planned anterior or posterior restoration, and can it support the anatomy and contact form required? | Check the product IFU and case plan before opening the compule or syringe. The ADA comparison lists resin-based composites for fillings and veneers, but large restorations may be contraindicated. |
| Handling and viscosity | Will the consistency adapt to the preparation while remaining controllable during sculpting, layering, or injection? | Confirm the recommended technique, layer guidance, and dispensing method. Trial the handling protocol with the assistant before routine use. |
| Shade and optical needs | Does the shade system provide a practical match for the tooth, and is the selection made before dehydration changes appearance? | Use the manufacturer's shade guidance and evaluate the tooth under the practice's normal lighting protocol. Document the selected shade when appropriate. |
| Cure compatibility | Are the material, increment thickness, curing light, and access conditions compatible with one another? | Review the composite and light manufacturer's IFUs. Inspect the light's condition and positioning, and follow the specified exposure requirements rather than borrowing times from another product. |
| Packaging and supply consistency | Does the package format fit the team's storage, dispensing, infection-control, and replenishment process? | Check lot information, expiration dates, storage requirements, and availability of the shades used most often. Standardize reorder points without making unsupported performance assumptions. |
For procurement review, compare the clinical workflow rather than treating one format as universally superior. SurgiMac's bulk-fill composite option and composite restorative material can be evaluated against your indications, preferred handling, shade inventory, and IFU requirements. If your team is standardizing curing procedures, use the light-cure composite resin kit guide for broader equipment context, then verify the specific material-light pairing at chairside.
A consistent selection process reduces avoidable substitutions and keeps the assistant's setup predictable. Reassess the choice when the indication, restorative technique, curing equipment, or supplier availability changes. Clinical judgment and the current IFU remain the final authority.
Common Handling Problems and How to Prevent Them
Composite handling problems usually begin before the material is fully placed. Moisture, inadequate access, an unsuitable matrix, or a mismatch between the product and its instructions can compromise the restoration workflow. A disciplined response is to pause when the field or material is no longer under control, identify the cause, and correct the condition before continuing. No technique can assure a perfectly sealed adhesive restoration, so clinical judgment remains essential when evaluating margins and adaptation (review of polymerization shrinkage and adhesive restorative techniques).
Contamination, Voids, and Marginal Excess
Saliva, blood, crevicular fluid, or uncontrolled humidity can interfere with adhesive procedures. If contamination occurs after isolation or bonding, do not simply cover the affected area with another increment. Stop, reassess the manufacturer's instructions, and repeat the appropriate portion of the adhesive sequence when indicated. Isolation methods vary by case, but the field must remain sufficiently controlled for the selected system.
Voids can result from poor adaptation, trapped air, or hurried placement. Apply composite deliberately, adapt each increment to the intended walls and contact area, and inspect accessible surfaces before curing. A matrix that is not seated or contoured correctly can contribute to an open contact or marginal excess. Remove excess while it is manageable, then reassess the cervical margin and proximal contour before proceeding.
Inadequate Cure and Shrinkage Stress
Light polymerization is a critical part of composite processing, and an apparently complete increment is not proof of adequate cure. Confirm that the curing light, access, increment thickness, and material instructions are compatible. If the light cannot reach the intended surface or the material has been placed beyond its stated limits. Stop and correct the setup rather than assuming the restoration is cured. The clinical literature identifies polymerization shrinkage as a major challenge in resin-based composite placement and reviews incremental techniques intended to manage shrinkage stress (PMC review on polymerization shrinkage stress).
Use an incremental approach when directed by the product IFU and appropriate for the preparation. Incremental placement does not eliminate shrinkage-related risk, but it can help the operator manage adaptation and curing access. Check each cured increment before adding the next one. If an increment pulls away, remains tacky, or shows poor adaptation, remove or correct it before building further anatomy.
Overbuilding and Product-Instruction Mismatch
Overbuilding creates avoidable finishing work and may leave anatomy, contacts, or occlusion outside the planned result. Place only the volume needed to establish the next controlled layer, then reassess contour from more than one view. Stop and reduce or reshape the material if the matrix, marginal ridge, or occlusal anatomy is no longer predictable.
Do not substitute a familiar workflow for the product-specific IFU. Adhesive steps, increment limits, curing requirements, and finishing recommendations differ among systems. When the selected resin, adhesive, curing light, or matrix is incompatible with the intended procedure, pause and verify the instructions or select a suitable system. This cautious workflow reflects evidence-based guidance covering isolation, matrix and adhesive techniques, light curing, and polishing (2024 guideline for direct composite restorations).
Frequently Asked Questions
How do you use dental composite resin in a tooth restoration?
After diagnosis and preparation, control moisture, place the matrix when needed, apply the adhesive system according to its instructions, and place the composite in manageable increments. Adapt each increment, shape the anatomy, and light-cure with verified technique before finishing, checking occlusion, and polishing. The workflow should follow the material manufacturer's IFU and the clinician's judgment. A recent evidence-based guideline addresses isolation, matrix and adhesive techniques, curing, and polishing.
Can composite resin fillings be used on front teeth?
Yes. Resin-based composite is used for anterior direct restorations, including appropriate fillings and esthetic repairs. Case selection still depends on the diagnosis, remaining tooth structure, occlusal forces, isolation, shade selection, and the restoration's size. The guideline cited above specifically addresses direct composite restorations on permanent anterior and posterior teeth.
What are the main limitations of resin composite?
Limitations include sensitivity to contamination and technique, polymerization shrinkage stress, and possible staining or discoloration over time. The ADA comparison also lists large restorations as a contraindication for resin-based composite. Select the restorative approach for the clinical situation rather than treating composite as a universal substitute.
How long does composite resin last on a tooth?
There is no single service-life number that applies to every restoration. Longevity depends on case selection, tooth location, restoration size, moisture control, bonding, curing, occlusion, finishing, oral hygiene, and maintenance. The ADA reports increasingly long survival rates and reliability for resin composites, while clinical follow-up remains necessary to assess restoration quality and repair or replacement needs.
How can a dental team improve the predictability of composite placement?
Standardize isolation, matrix selection, adhesive steps, increment handling, curing verification, finishing, and documentation. Keep the IFU available for every material, and do not substitute a cure time or light position from another product. Incremental techniques are used to help manage polymerization shrinkage stress, but no adhesive technique guarantees a perfectly sealed restoration.
Review composite restorative materials for your practice
Ready to Choose Your Composite Materials
A well-planned material selection process helps dental teams align resin handling, indications, curing equipment, and manufacturer instructions with the clinical workflow. Review SurgiMac's composite restorative materials and choose products that fit your practice's needs. Review the composite restorative material and get started with a selection grounded in your protocols and clinical judgment.
Tags
Blog posts
-
, by SurgiMac A Clinician's Guide to Absorbable Suture Material
-
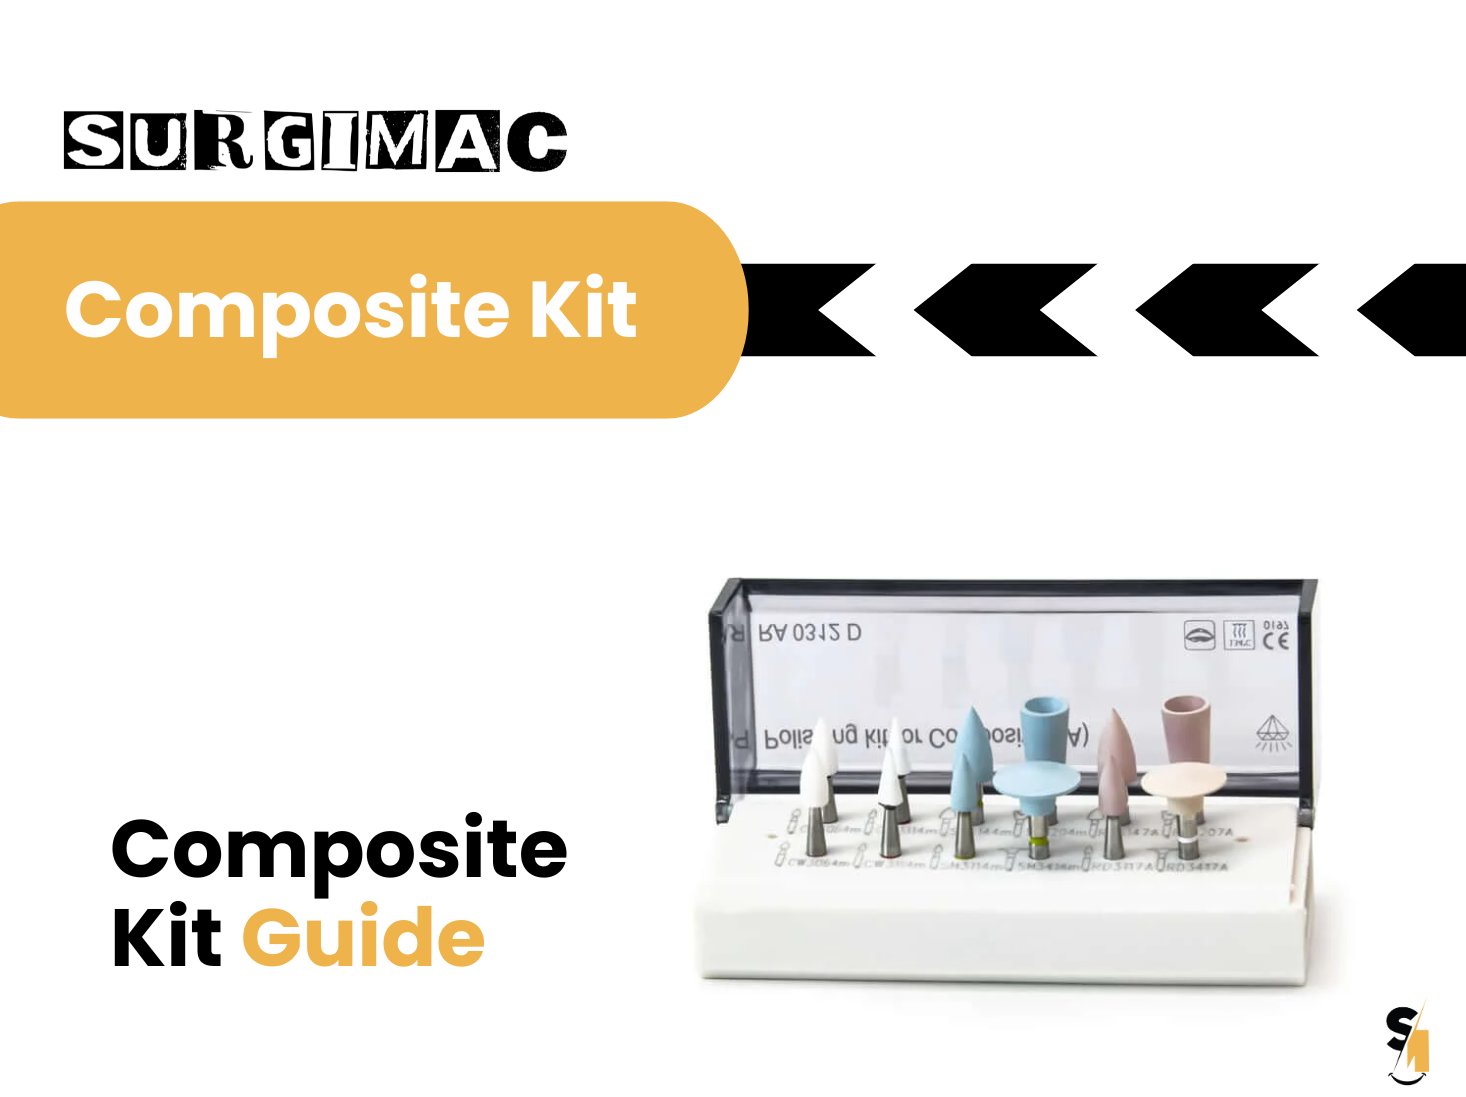
, by SurgiMac A Clinician's Guide to Dental Composite Resin Kits
-
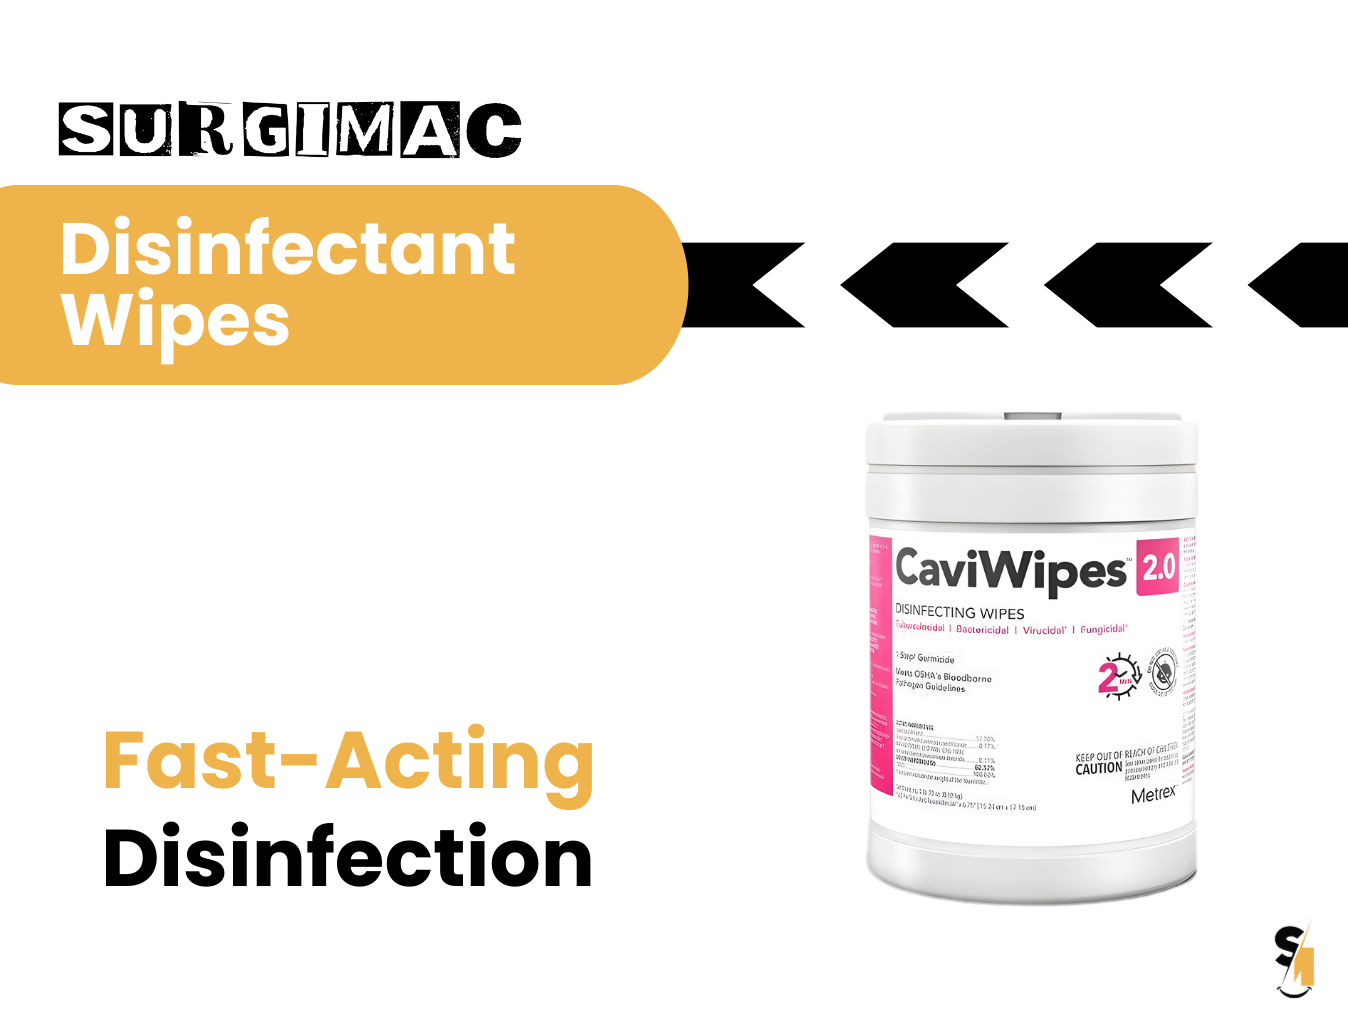
, by SurgiMac How to Disinfect with Metrex CaviWipes Correctly
